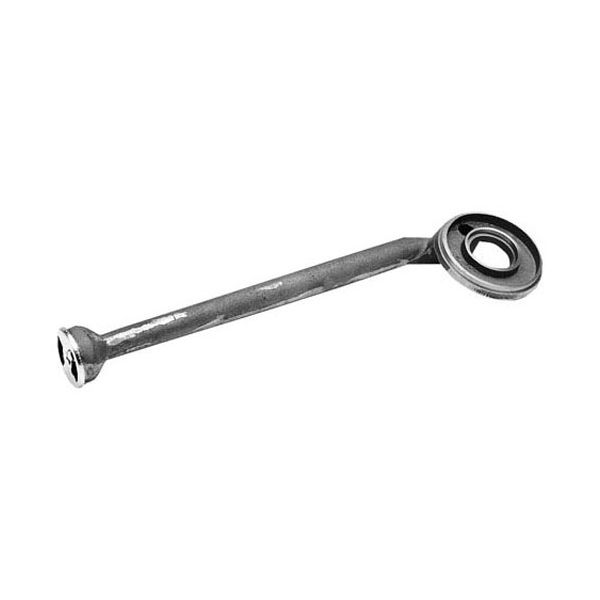
Imperial 1232 20-1/2" Cast Iron Rare Ventur W/ Air Shutter A1188 2-1/8" Dia

Special Price $99.44 Regular Price $240.78
In stock
SKU
1232
The Imperial 1232 20-1/2 Cast Iron Rare Venturi with Air Shutter A1188 2-1/8 DIA is suitable for lift-off burner heads especially for the IR Elite series. This is a high quality cast iron venturi with a length of 20-1/2” and diameter of 2-1/8” complete with an air shutter to adjust air/fuel mixture. They make certain that fuel is burned correctly and offers uniform flame range. This venturi is suitable for most models and has a removable head which makes its maintenance a breeze. It increases the efficiency and durability of your range while reducing energy consumption and increasing accuracy.

Dimensions

  • Length: 20.75 In
  • Width: 5 In
  • Height: 2.5 In
  • Weight: 6.72 lbs
https://partsfe.com/media/catalog/product/i/m/imperial-1232-20-1-2-cast-iron-rare-ventur-w-air-shutter-a1188-2-1-8-dia-67168-2.jpg

Product Notes

  • Cast Iron Rear Venturi
  • 20-1/2" Long, 2-1/8" Dia W/Air Shutter A1188, # 26-1569
  • For Lift Off Head,
  • Removable Head Only Is # 24-1189, 4-3/4" Dia.
  • Imperial
  • Range Series: Ir Elite (With Lift Off Burner Heads).
  • (Most Models Made After 1996)
IMPERIAL:
-1232, -2681, 1232, 2681, IMP1232, IMP2681
Write Your Own Review
You're reviewing:Imperial 1232 20-1/2" Cast Iron Rare Ventur W/ Air Shutter A1188 2-1/8" Dia
Your Rating
Customer Questions
What maintenance is required for the Imperial 1232 Rare Ventur With Air Shutter?

Regularly inspect the venturi and air shutter for grease buildup, corrosion, or blockages that may affect burner performance. Clean the air openings to maintain proper gas-to-air mixture and even flame distribution. Check mounting stability and burner alignment during servicing.

What are common issues with the Imperial 1232 Rare Ventur With Air Shutter?

  • Soot buildup causing restricted airflow.
  • Air shutter misalignment leading to uneven flame.
  • Venturi blockage reducing combustion efficiency.
  • Instability in burner performance under load.

We strive to provide our customers with a hassle-free and efficient shopping experience. Our shipping policy ensures the timely delivery of your orders and complete customer satisfaction. View More

We are committed to ensuring your complete satisfaction with every purchase. We understand that circumstances may arise where you must return a product or request a refund. If for any reason you are not satisfied, you may return the item(s) according to the terms outlined below. View More

This Payment Policy outlines the terms and conditions governing all payments made for products purchased through our website. By making a purchase, you agree to be bound by this Payment Policy. View More

Installation Steps

Step1: Turn off gas and electrical power, allow unit to cool completely and ensure proper ventilation.

Step2: Remove the burner assembly and extract old venturi safely.

Step3: Install new venturi and air shutter, align with mounting points, secure fasteners.

Step4: Reassemble components, tighten all fittings, ensure stable seating, inspect alignment.

Step5: Restore gas supply, check for leaks with soapy solution, test ignition, adjust flame for safe combustion.