Frymaster 8076084 Latch-Valve Relay DPDT 120V

Special Price $32.06 Regular Price $45.75
In stock
SKU
8076084
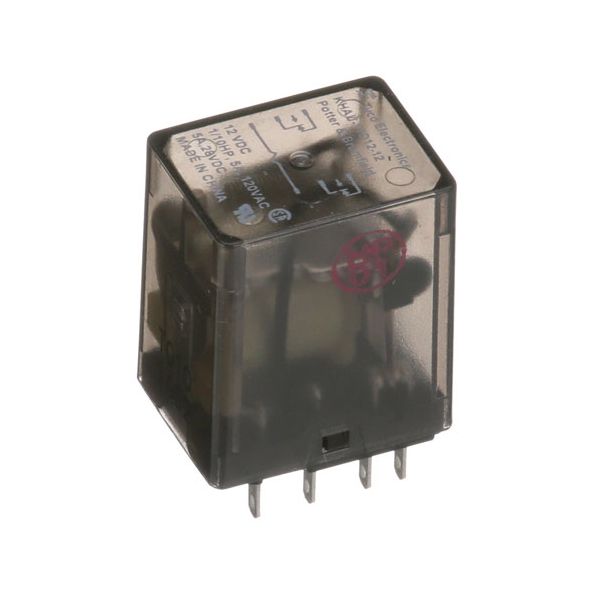
The Frymaster 8076084 Relay Latch-Valve DPDT 120V switches are electrical circuits that reverse the position of the internal contacts. These are the alternate positions and stays, and the current is sent to the correct load. This is a relay fitted in the electrical box of suitable cooking equipment and is attached to the chassis or the control panel. It connects with the wiring harness of the appliance to act upon components on control signals sent by switches, thermostats, or electronic boards.

Dimensions

  • Length: 1.75 In
  • Width: 1.125 In
  • Height: 1.75 In
  • Weight: 0.1 lbs
https://partsfe.com/media/catalog/product/f/r/frymaster-8076084-relay-5-amps-120v-40202-2.jpg

Product Notes

  • Relay, [5 Amps] [120V ] [ 3/32" Male
  • Terminals], 12Vdc, Gas Valve Or Heat.
  • Frymaster
  • Computer Magic Ii & Iii, Latch Valve Relay Or Heat Relay
  • Fryer Bimh-(14,52), Fph250Sd, Fph450Csd, G18Fb,
  • G24Fb, Gl(18Fb,24Fb), H(14,17, 22,214), Mach52,
  • Mj45E, Mjcfe W/Computer Magic, Mjh50.
More Information
Disable SaleableNo
Write Your Own Review
You're reviewing:Frymaster 8076084 Latch-Valve Relay DPDT 120V
Your Rating
Customer Questions
What maintenance is required for the Frymaster 8076084 Relay?

Inspect the relay periodically for signs of damage, overheating, or dust accumulation. Ensure all wiring connections are tight and free from corrosion. Test the relay’s switching operation during routine equipment checks. Always disconnect power before servicing electrical components.

What are common issues with the Frymaster 8076084 Relay?

  • Relay failing to switch on or off.
  • Contacts are sticking or not connecting properly.
  • Intermittent electrical connection.
  • Overheating or burned relay contacts.

We strive to provide our customers with a hassle-free and efficient shopping experience. Our shipping policy ensures the timely delivery of your orders and complete customer satisfaction. View More

We are committed to ensuring your complete satisfaction with every purchase. We understand that circumstances may arise where you must return a product or request a refund. If for any reason you are not satisfied, you may return the item(s) according to the terms outlined below. View More

This Payment Policy outlines the terms and conditions governing all payments made for products purchased through our website. By making a purchase, you agree to be bound by this Payment Policy. View More

Installation Steps

Step1: Disconnect power to the appliance before accessing internal components.

Step2: Open the control panel to locate the relay.

Step3: Disconnect the wiring from the existing relay.

Step4: Remove it from its mounting base.

Step5: Install the new relay in position.

Step6: Reconnect wiring to the correct terminals.

Step7: Close the panel and restore power.

Step8: Test for proper electrical switching.