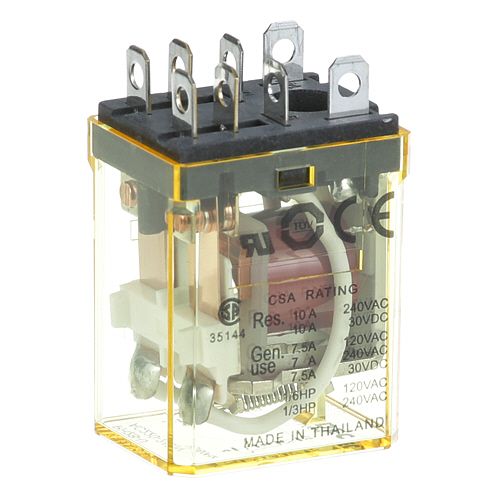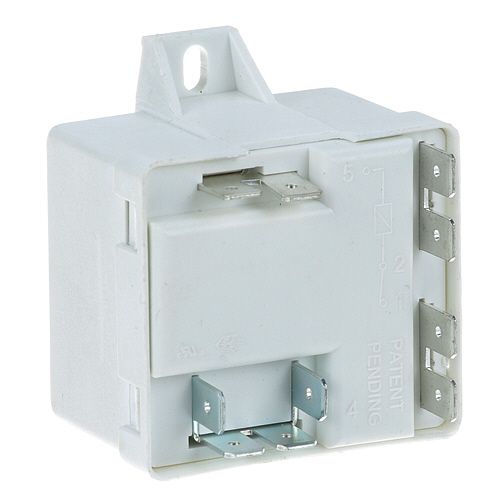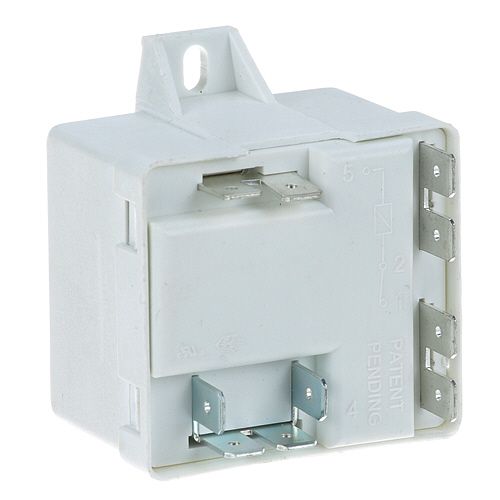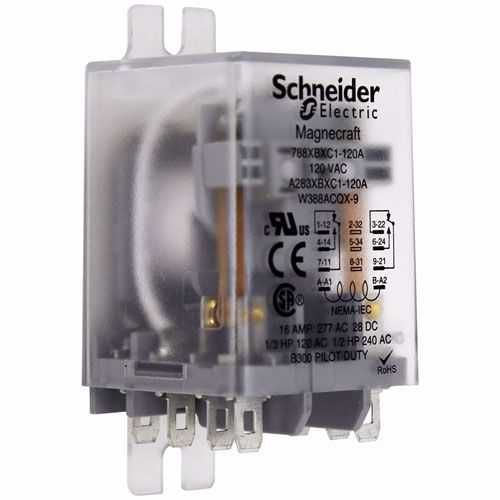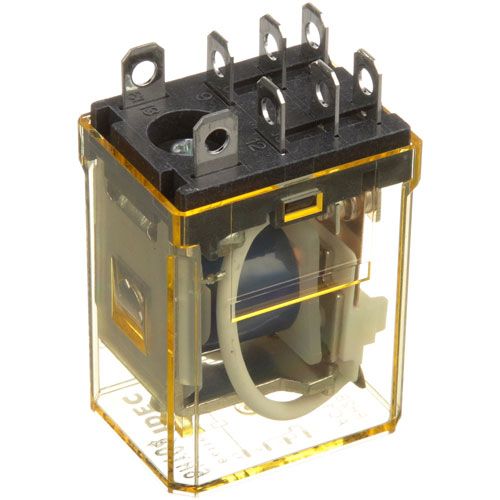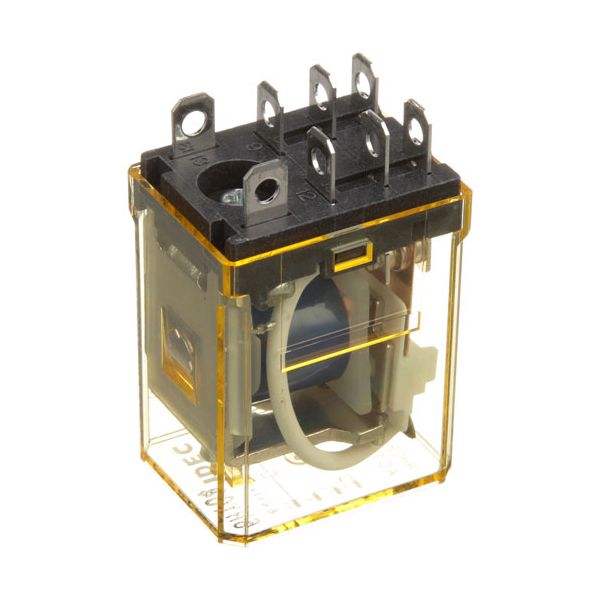
Ice-O-Matic 9101084-01 Relay 2 Pole 120V

Special Price $64.47 Regular Price $91.44
In stock
SKU
9101084-01
The Ice-O-Matic 9101084-01 Relay 2 Pole electrical power is switched to four distinct circuits by using an internal coil activated by 120 volts to open or close rated contacts. When the coil is switched on, the poles are moved by the magnetic force to either complete or break the flow of current through each set of terminals. This relay is installed in the control, and it's to be wired to the control board and load circuits of the electrical switching system.

Dimensions

  • Weight: 0.125 lbs
https://partsfe.com/media/catalog/product/i/c/ice-o-matic-9101084-01-4-pole-relay-w-3-16-male-terminals-10-amps-120v-39465-2.jpg
Controls electrical circuit switching within the electrical control system of Ice-O-Matic commercial ice machines, the Ice-O-Matic 9101084-01 Relay 4 Pole 10A 110-120V 50/60Hz is a four-pole electrical relay that opens or closes multiple circuits in response to a control signal. It transfers electrical power between connected components such as motors, compressors, or other control devices as directed by the equipment's control system, supporting the sequencing of operating functions throughout the ice-making cycle.

Electrical Switching:
The relay operates by using an electrically energized coil to change the position of its switching contacts. When a control signal is received, the relay opens or closes multiple electrical circuits simultaneously through its four-pole contact arrangement. This switching action allows electrical power to be directed to designated components while isolating others as required by the control system.

Equipment Control Coordination:
Within the ice machine's electrical control system, the relay coordinates the operation of connected components by switching electrical circuits at specific stages of the ice-making cycle. Working with the machine's control circuitry, it supplies or interrupts electrical power to components such as motors, compressors, and other control devices according to the programmed operating sequence. This coordinated switching supports normal equipment operation throughout the production cycle.

Replacement Guidelines:
Replace the Ice-O-Matic 9101084-01 Relay when electrical failure, contact deterioration, physical damage, or wear affects its intended switching function within the ice machine. Inspect the relay and related electrical connections and control circuits for conditions that could affect component operation. Replace the component when it can no longer maintain its intended function within the equipment's electrical control system.

Common Failure Symptoms:

  • Connected components fail to operate when energized
  • Intermittent switching of electrical circuits
  • Irregular equipment operating cycles
  • Electrical control sequence interruptions

Equipment Compatibility:
The Ice-O-Matic 9101084-01 Relay is used with Ice-O-Matic ice machines requiring this relay configuration. Verify the equipment model number, part number, and manufacturer documentation before purchase to confirm the correct application.

Technical Specifications:
Brand: Ice-O-Matic
Part Number: 9101084-01
Component Name: Relay
Relay Configuration: 4 Pole
Current Rating: 10A
Voltage Rating: 110-120V
Frequency: 50/60Hz

CLEVELAND:
ICE-O-MATIC:
Write Your Own Review
You're reviewing:Ice-O-Matic 9101084-01 Relay 2 Pole 120V
Your Rating
Customer Questions
How can I determine if the relay is the cause of my refrigerator or freezer problem before purchasing a replacement?

Diagnosing refrigerator or freezer issues can be complex. It's advisable to consult the appliance's manual, seek professional repair services, or use diagnostic tools to pinpoint the specific problem.

Can this relay be used in commercial-grade refrigeration or freezer units, or is it intended solely for residential appliances?

The Relay4P is primarily designed for use in residential appliances. For commercial-grade units, it's recommended to consult the manufacturer for suitable replacement parts.

What maintenance is required for the Ice-O-Matic 9101084-01 Relay?

Inspect the relay regularly for corrosion, loose connections, or signs of overheating. Clean terminals gently and ensure all wiring is secure. Test the relay periodically to confirm proper switching. Avoid moisture exposure to prevent electrical shorts and maintain safe operation.

What are common issues with the Ice-O-Matic 9101084-01 Relay?

  • Relay failing to switch properly
  • Loose or corroded terminals are causing intermittent operation
  • Overheating under high load
  • Contact pitting or wear is affecting performance.

What does the four-pole configuration mean on the Ice-O-Matic 9101084-01 relay?

The four-pole configuration identifies the relay's multiple switching contact arrangement, allowing the relay to control separate electrical paths according to the equipment's circuit design.

How does the relay switch an electrical circuit?

An energized coil operates the relay contacts, changing their electrical state and allowing the connected circuit to be switched according to the control system's sequence.

We strive to provide our customers with a hassle-free and efficient shopping experience. Our shipping policy ensures the timely delivery of your orders and complete customer satisfaction. View More

We are committed to ensuring your complete satisfaction with every purchase. We understand that circumstances may arise where you must return a product or request a refund. If for any reason you are not satisfied, you may return the item(s) according to the terms outlined below. View More

This Payment Policy outlines the terms and conditions governing all payments made for products purchased through our website. By making a purchase, you agree to be bound by this Payment Policy. View More

Installation Steps

Step1: Turn off the power to the unit before beginning installation.

Step2: Remove the old relay by disconnecting all terminals carefully.

Step3: Align the new relay in the mounting slot.

Step4: Connect each terminal to the matching wire using the male connectors.

Step5: Secure the relay in place to prevent movement.

Step6: Restore power and test for proper operation.

Step7: Avoid touching live wires during installation.