
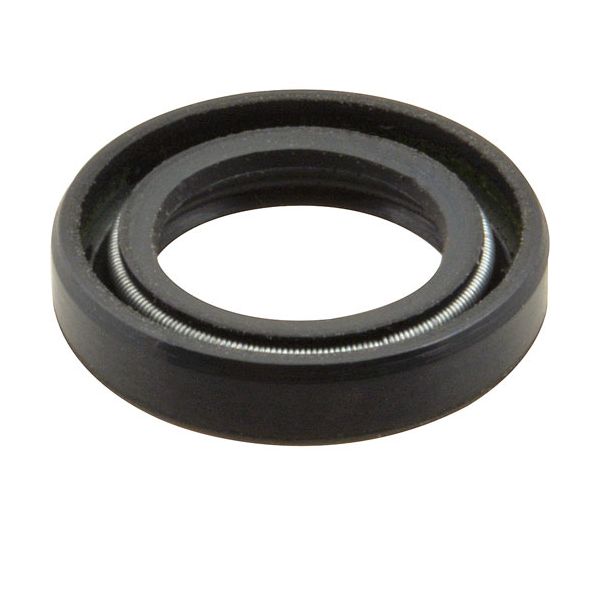
Bunn 37593.0000 Beverage Dispenser Cooling Drum Seal To Shaft

Special Price $7.06 Regular Price $7.50
In stock
SKU
37593.0000
Manufacturer:

The Bunn 37593.0000 Beverage Dispenser Cooling Drum Seal To Shaft is a tight interface of the cooling drum and rotating shaft, which prevents fluid movement but freely rotates. Its soft sealing surface keeps in touch with the temperature variations and movement and regulates the condensation and contact of beverages in the cooling system. This element is placed at the entry point of the shaft of the cooling drum within compatible beverage dispensers. The seal is shaped so that it fits into the shaft diameter and drum hole.

Dimensions

  • Length: 1 In
  • Width: 1 In
  • Height: 0.5 In
  • Weight: 0.01 lbs
https://partsfe.com/media/catalog/product/b/u/bunn-37593-0000-cooling-drum-seal-79513-2.jpg
Write Your Own Review
You're reviewing:Bunn 37593.0000 Beverage Dispenser Cooling Drum Seal To Shaft
Your Rating
Customer Questions
No Questions

We strive to provide our customers with a hassle-free and efficient shopping experience. Our shipping policy ensures the timely delivery of your orders and complete customer satisfaction. View More

We are committed to ensuring your complete satisfaction with every purchase. We understand that circumstances may arise where you must return a product or request a refund. If for any reason you are not satisfied, you may return the item(s) according to the terms outlined below. View More

This Payment Policy outlines the terms and conditions governing all payments made for products purchased through our website. By making a purchase, you agree to be bound by this Payment Policy. View More

Installation Steps

Step1: Disconnect power and allow brewer to cool completely to avoid burns or electrical hazard.

Step2: Wear cut-resistant gloves when handling components.

Step3: Open equipment housing and locate the cooling drum assembly.

Step4: Remove worn old seal carefully, cleaning mating surfaces of debris or residue.

Step5: Align new seal with groove and press evenly into place until fully seated.

Step6: Reassemble unit, restore power, and check for proper sealing during operation.