Vollrath/Idea-Medalie 38303 Well Assembly 800W 208-240V

Special Price $292.63 Regular Price $379.95
In stock
SKU
38303
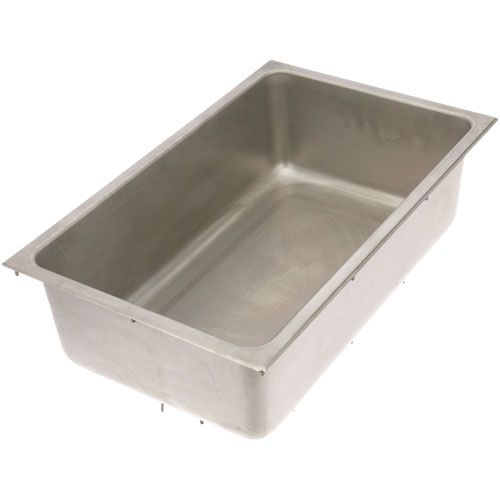
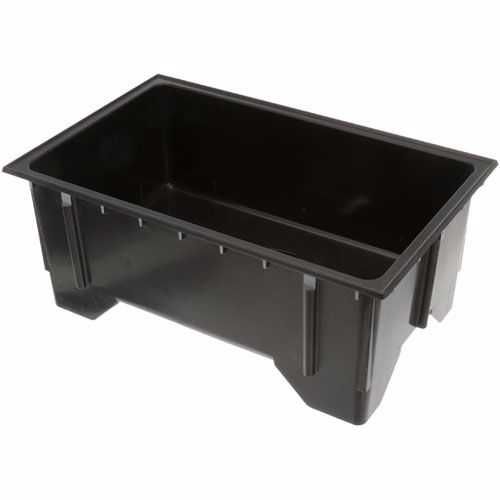
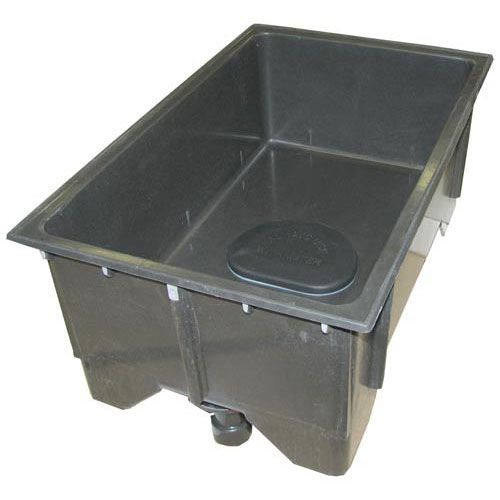
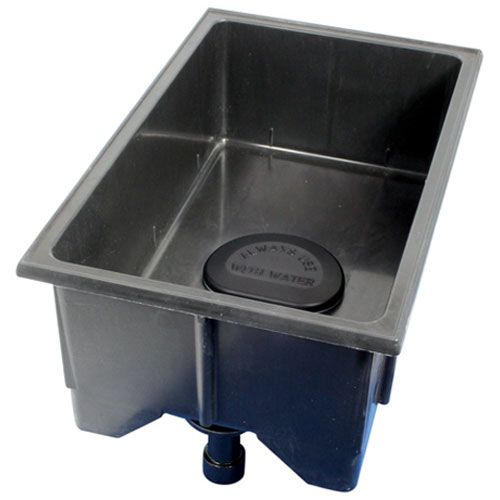
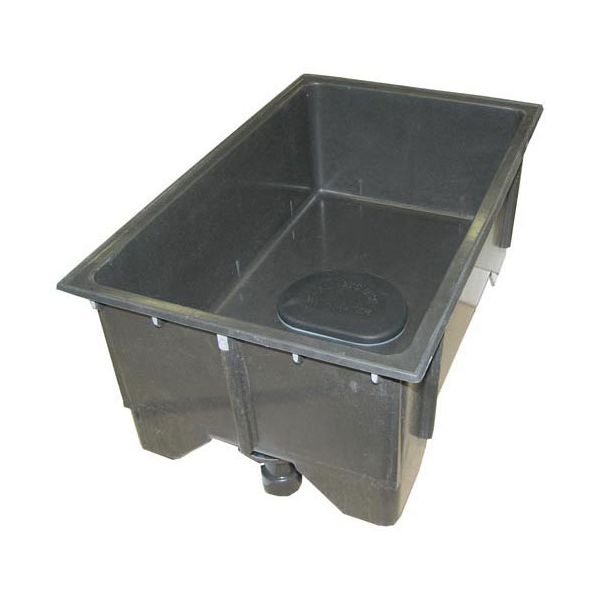
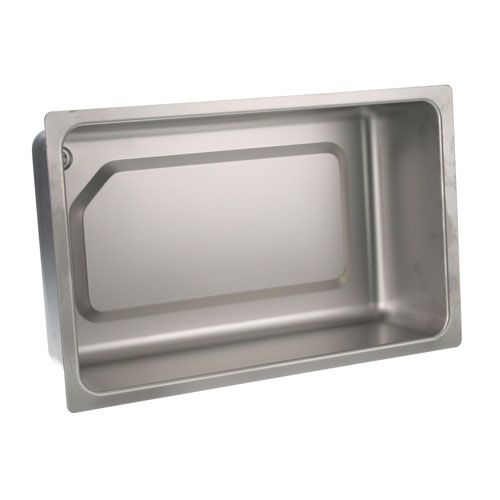
The Vollrath/Idea-Medalie 38303 Food Warmer Servewell Well Assembly is a component of kitchen that stores food at the correct serving temperature efficiently. This well assembly provides 800W of heating power while supporting 208-240V voltage that enables direct-contact heating which reduces energy use by 25% compared to other models to maintain food heat without quality degradation. The partoffers flexible functionality in the kitchen because of its 13-3/4" x 21-5/8" OD dimensions. The manufacturing change post-7/00 brings a new efficient design which includes a 5/8" raised lip and 3-1/2" drain and replaces the older model's specifications.

Dimensions

  • Length: 26 In
  • Width: 18.25 In
  • Height: 13.5 In
  • Weight: 18.3 lbs
https://partsfe.com/media/catalog/product/v/o/vollrath-idea-medalie-38303-food-warmers-servewell-well-assembly-208-240v-800w-33466-2.jpg

Product Notes

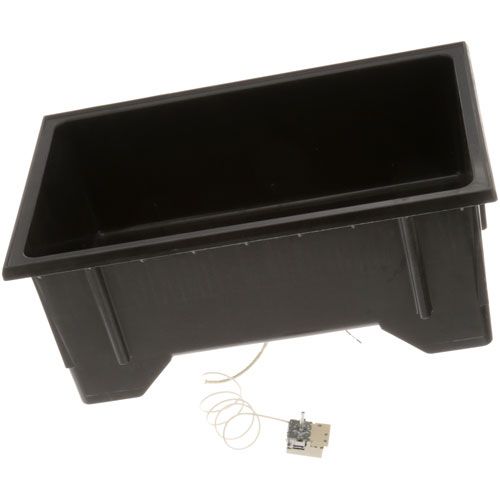
  • New Style Well Assy. 208/240V 800W, 13-3/4" X 21-5/8" Od,
  • Includes Element, Drain Adaptor And "O" Ring.
  • Manufacturing Change 7/00
  • Before 7/00 Wells Have 1/4" Raised Lip With 3" Drain.
  • After 7/00 Wells Have 5/8" Raised Lip With 3-1/2" Drain.
  • Old Style Well Assy Is # Vol38300
  • Vollrath/Idea Medalie Warmer Servewell Units
VOLLRATH:
38303, VOL38303
Write Your Own Review
You're reviewing:Vollrath/Idea-Medalie 38303 Well Assembly 800W 208-240V
Your Rating
Customer Questions
What maintenance is required for the Vollrath/Idea-Medalie 38303 Well Assembly?

Regularly inspect electrical connections and heating elements for wear or loose wiring for safe operation. Clean the well assembly after use, removing debris and moisture to prevent corrosion. Always disconnect power before cleaning or performing maintenance to avoid electrical hazards.

What are common issues with the Vollrath/Idea-Medalie 38303 Well Assembly?

  • Inconsistent heating or failure to reach set temperature.
  • Loose electrical connections causing intermittent power loss.
  • Element burnout or reduced heating efficiency over time.
  • Moisture intrusion leading to electrical faults.
  • Tripped safety switches due to overheating protection systems.

We strive to provide our customers with a hassle-free and efficient shopping experience. Our shipping policy ensures the timely delivery of your orders and complete customer satisfaction. View More

We are committed to ensuring your complete satisfaction with every purchase. We understand that circumstances may arise where you must return a product or request a refund. If for any reason you are not satisfied, you may return the item(s) according to the terms outlined below. View More

This Payment Policy outlines the terms and conditions governing all payments made for products purchased through our website. By making a purchase, you agree to be bound by this Payment Policy. View More

Installation Steps

Step1: Disconnect power at breaker and check circuit is fully de-energized.

Step2: Allow the unit to cool completely before handling internal components.

Step3: Remove existing old well assembly and disconnect high-voltage wiring, noting terminal positions.

Step4: Install the new well into opening, securing mounting hardware evenly.

Step5: Reconnect wiring with proper grounding and insulation checks.

Step6: Restore power and test heating operations, ensuring stable temperature and no electrical faults.