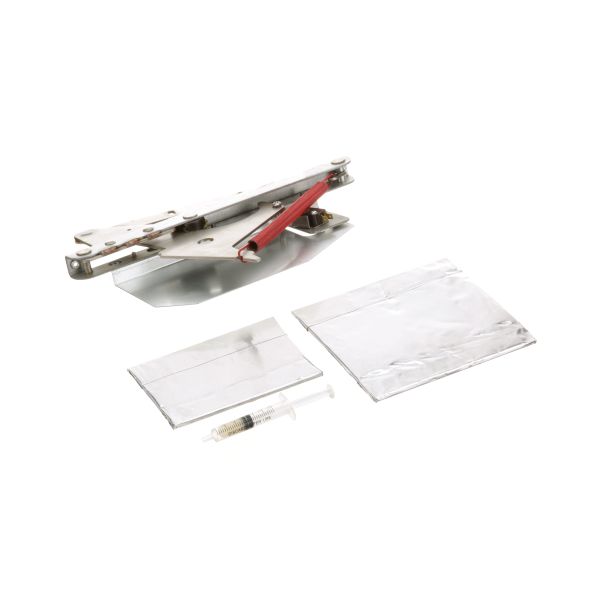
TurboChef I1-3220-2 Oven RH Hinge Assembly Service Kit

Special Price $188.89 Regular Price $291.05
In stock
SKU
I1-3220-2
The TurboChef I1-3220-2 RH Hinge Assembly Service Kit is a quality original part intended for I1 series ovens. This kit consists of the right-hand hinge assembly, which is proper and easy door function. It ensures safety when using the oven since it replaces worn or damaged hinges of the oven. With this service kit in place, users can increase the durability of the oven, minimize downtimes and keep the cooking environment as required. It is ideal for kitchen where making quick fixes is essential in order to continue using equipment and get work done.

Dimensions

  • Length: 1 In
  • Width: 1 In
  • Height: 1 In
  • Weight: 1 lbs
https://partsfe.com/media/catalog/product/t/u/turbochef-i1-3220-2-oven-rh-hinge-assembly-service-kit-45919.jpg
Write Your Own Review
You're reviewing:TurboChef I1-3220-2 Oven RH Hinge Assembly Service Kit
Your Rating
Customer Questions
What maintenance is required for the TurboChef I1-3220-2 Hinge Assembly Service Kit?

Inspect the oven hinge assembly regularly for looseness, wear, or misalignment and tighten mounting hardware as needed. Keep hinge points clean and lightly lubricated to ensure smooth door movement. Always disconnect power before servicing to avoid damage.

What are common issues with the TurboChef I1-3220-2 Hinge Assembly Service Kit?

  • Door misalignment or sticking due to worn hinge pins.
  • Uneven door closure causing heat loss.
  • Mounting bracket loosening or fracture under repeated use.
  • Door sag affecting sealing performance.

We strive to provide our customers with a hassle-free and efficient shopping experience. Our shipping policy ensures the timely delivery of your orders and complete customer satisfaction. View More

We are committed to ensuring your complete satisfaction with every purchase. We understand that circumstances may arise where you must return a product or request a refund. If for any reason you are not satisfied, you may return the item(s) according to the terms outlined below. View More

This Payment Policy outlines the terms and conditions governing all payments made for products purchased through our website. By making a purchase, you agree to be bound by this Payment Policy. View More

Installation Steps

Step1: Disconnect power and allow oven to cool completely to secure from burns or shock.

Step2: Open door and support it securely.

Step3: Remove existing old hinge hardware and note orientation.

Step4: Install new hinge assembly kit in same position, aligning mounting points.

Step5: Tighten fasteners evenly and ensure smooth door movement.

Step6: Restore power and test door operation for proper sealing.

Step7: If any misalignment occurs, adjust hinges before full tightening.