

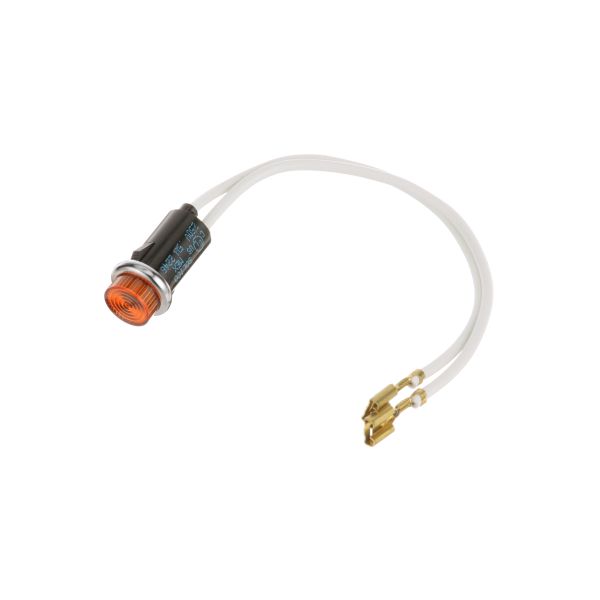
Duke 215555 Warmer Amber Indicator Light 240V

$19.24
In stock
SKU
215555
Manufacturer:

The Duke 215555 Warmer Amber Indicator Light 240V is a visual signaling system, which is used to indicate the status of any commercial equipment. It is mounted on the control panel and lights up when the warmer is powered on or in operation and this enables operators to check functionality at a glance. This indicator is widely utilized in food warmers, holding cabinets, and other systems of this sort in commercial kitchens. It allows effective monitoring of service with the aid of visuals. The light is a component of the electrical control system.

Dimensions

  • Length: 1.65 In
  • Width: 2 In
  • Height: 2 In
  • Weight: 0.3 lbs
https://partsfe.com/media/catalog/product/d/u/duke-215555-indicator-light-240v-amber-28654-2.jpg

Product Notes

  • Color: Amber Lens
  • Voltage: 240 Vac
DUKE:
2068, 215555, DUK2068, DUK215555
Write Your Own Review
You're reviewing:Duke 215555 Warmer Amber Indicator Light 240V
Your Rating
Customer Questions
What maintenance is required for the Duke 215555 Indicator Light?

Regularly check the indicator light for consistent illumination and ensure it is securely mounted. Clean the lens to maintain clear visibility. Inspect electrical connections for wear or corrosion. Always turn off power before servicing to ensure safety.

What are common issues with the Duke 215555 Indicator Light?

  • Light not turning on during operation.
  • Flickering or dim illumination.
  • Loose or faulty wiring connections.
  • Burnt-out internal bulb or LED.
  • Discoloration or reduced visibility of the lens.

We strive to provide our customers with a hassle-free and efficient shopping experience. Our shipping policy ensures the timely delivery of your orders and complete customer satisfaction. View More

We are committed to ensuring your complete satisfaction with every purchase. We understand that circumstances may arise where you must return a product or request a refund. If for any reason you are not satisfied, you may return the item(s) according to the terms outlined below. View More

This Payment Policy outlines the terms and conditions governing all payments made for products purchased through our website. By making a purchase, you agree to be bound by this Payment Policy. View More

Installation Steps

Step1: Disconnect power from the equipment and verify it is fully de-energized before starting.

Step2: Remove the control panel or indicator lens cover to access the existing light assembly.

Step3: Gently twist out the old indicator light from its socket without stressing wiring.

Step4: Insert the new indicator light firmly into the socket, ensuring correct seating and alignment.

Step5: Reassemble the panel, restore power, and test for proper amber illumination.