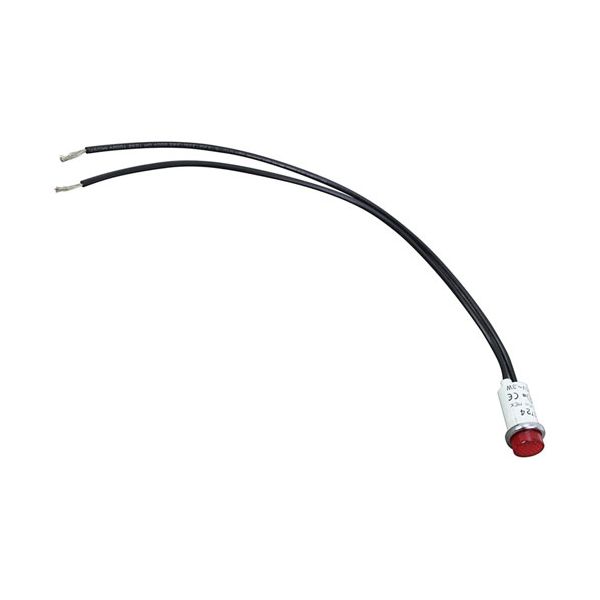
American Range A10011 Fryer Indicator Light 1/2" Red 120V

$6.24
In stock
SKU
A10011
The American Range A10011 Indicator Light 1/2" Red 120V is a dependable signal part is used to easily show the operating conditions of commercial fryers. This red indicator light has a 1/2-inch mounting hole and runs on 120 volts making it a bright and visible signal when the fryer is on or heating. It enhances safety and efficiency in the kitchens by informing operators. This part is durable and can be easily install and is reliable in its performance and will assist in ensuring smooth operation of a commercial foodservice setting.

Dimensions

  • Length: 11.25 In
  • Width: 0.625 In
  • Height: 0.625 In
  • Weight: 0.1 lbs
https://partsfe.com/media/catalog/product/a/m/american-range-a10011-125v-1-2-signal-light-93870-2.jpg

Product Notes

  • Signal Light
  • 125V [ Fits Hole 1/2" ] [10" Leads ] [Color Red]
  • [ Type Hat Raised/Flat ][ Bezel Chrome]
  • [ Fastener Lock Tabs]
  • American Range Convection Oven Ar-C
  • Curtis Coffee Where Applicable.
  • Jade
  • Grill Series: Jggtb, Jgtb.
  • Oven Series: Jslb, Jsr, Jtrh,.
  • Rankin-Delux Grill Rd-85
AMERICAN RANGE:
ATLAS METAL:
DUKE:
-2071, 2071, 2071-2, DUK2071
ULTRAFRYER:
Write Your Own Review
You're reviewing:American Range A10011 Fryer Indicator Light 1/2" Red 120V
Your Rating
Customer Questions
What maintenance is required for the American Range A10011 Indicator Light?

Regularly check the fryer indicator light for proper illumination and secure mounting. Clean the lens to remove grease or residue buildup. Inspect wiring connections for damage or looseness. Always disconnect power before servicing to ensure safe handling and prevent electrical hazards.

What are common issues with the American Range A10011 Indicator Light?

  • Indicator light not turning on.
  • Dim or flickering illumination.
  • Loose or damaged wiring connections.
  • Burnt-out bulb or internal component failure.
  • Incorrect voltage causing inconsistent performance.

We strive to provide our customers with a hassle-free and efficient shopping experience. Our shipping policy ensures the timely delivery of your orders and complete customer satisfaction. View More

We are committed to ensuring your complete satisfaction with every purchase. We understand that circumstances may arise where you must return a product or request a refund. If for any reason you are not satisfied, you may return the item(s) according to the terms outlined below. View More

This Payment Policy outlines the terms and conditions governing all payments made for products purchased through our website. By making a purchase, you agree to be bound by this Payment Policy. View More

Installation Steps

Step1: Disconnect power and shut off gas supply to the fryer before starting.

Step2: Remove the front control panel to access the existing indicator light assembly.

Step3: Carefully disconnect the wiring terminals from the old light.

Step4: Release the locking tabs and pull the light out of the mounting hole.

Step5: Insert the new indicator light, ensuring correct orientation and secure seating.

Step6: Reconnect wiring, reassemble the panel, restore power, and test for proper illumination during fryer operation.