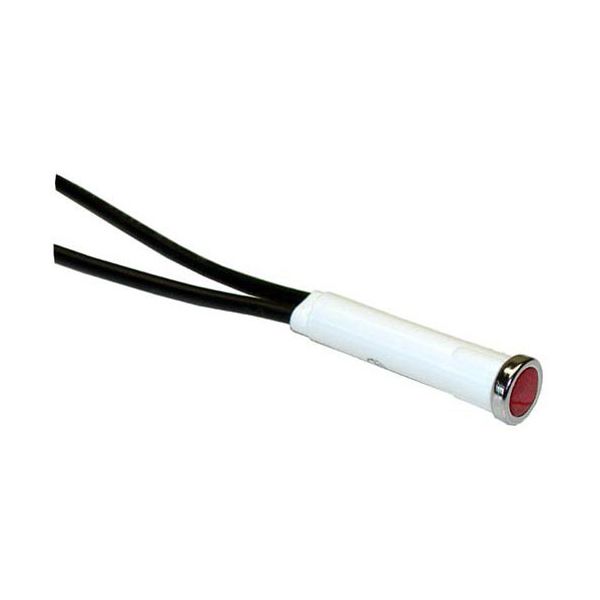
Cleveland 12159 Convection Steamer Signal Indicator Light Red 5/16" 125V

$8.86
In stock
SKU
12159
The Cleveland 12159 Convection Steamer Signal Indicator Light Red 5/16" 125V when there is electrical current and converts power to visible colored energy, showing that it is an active circuit. It has a voltage of 125 volts and internal contacts that power the lamp when the control or switch to which it is attached is closed. This is mounted in the control boards, consoles, or equipment with a 5/16-inch panel opening. It has a small lens that is directed forward, and the rear terminals are connected to wiring inside the enclosure.

Dimensions

  • Length: 1 In
  • Width: 1 In
  • Height: 0.25 In
  • Weight: 0.016 lbs
https://partsfe.com/media/catalog/product/c/l/cleveland-12159-signal-light-5-16-red-125v-12159-2.jpg

Product Notes

  • Signal Light, 125V [ Fits Hole 5/16" ] [7" Leads ] [Color
  • Red] [ Type Hat Flat ][ Bezel Chrome] [ Fastener No
  • Clip], Needs Tinnerman Fasten Clip # 26-2263
  • Toastmaster Griddle
Write Your Own Review
You're reviewing:Cleveland 12159 Convection Steamer Signal Indicator Light Red 5/16" 125V
Your Rating
Customer Questions
What maintenance is required for the Cleveland 12159 Signal Light?

Clean the lens periodically to ensure clear signal visibility and remove buildup. Check electrical connections for tightness and signs of corrosion. Verify proper voltage operation during inspections. Replace damaged wiring or components to ensure consistent and safe signaling.

What are common issues with the Cleveland 12159 Signal Light?

  • Dim or non-functioning indicator light.
  • Flickering due to unstable power.
  • Loose terminal connections.
  • Moisture entering housing.
  • Reduced visibility from lens wear or discoloration.

We strive to provide our customers with a hassle-free and efficient shopping experience. Our shipping policy ensures the timely delivery of your orders and complete customer satisfaction. View More

We are committed to ensuring your complete satisfaction with every purchase. We understand that circumstances may arise where you must return a product or request a refund. If for any reason you are not satisfied, you may return the item(s) according to the terms outlined below. View More

This Payment Policy outlines the terms and conditions governing all payments made for products purchased through our website. By making a purchase, you agree to be bound by this Payment Policy. View More

Installation Steps

Step1: Turn off power and check circuit is de-energized.

Step2: Insert signal light into panel cutout and secure mounting nut.

Step3: Connect wires to correct terminals per wiring diagram.

Step4: Tighten connections and ensure insulation is intact.

Step5: Restore power and test indicator operation.

Step6: Check for secure fit and safe operation.