

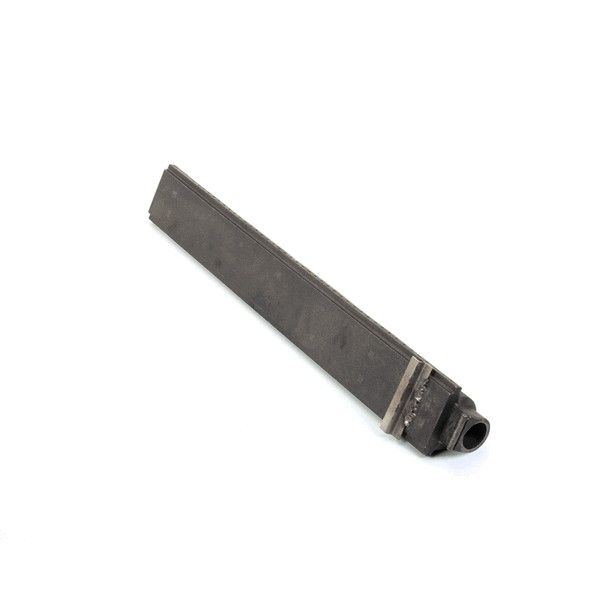
Southbend 1130399 Hi Glow Burner Weldment Assembly

Special Price $847.19 Regular Price $912.93
In stock
SKU
1130399
Manufacturer:
The Southbend 1130399 Hi Glow Burner Weldment Assembly produces and directs heat in the cooking chamber through the creation of a high intensity flame on the surface of the cooking chamber. It is mounted in the burner part of the equipment and is attached to the gas supply and mounting structure to ensure that it is correctly aligned. As a main source of heat, this assembly has the benefit of distributing the heat evenly, which assists to maintain the same temperature and performance in the cooking process in compatible commercial cooking systems.

Dimensions

  • Weight: 0 lbs
https://partsfe.com/media/catalog/product/1/1/1130399-1.jpg

Product Notes

  • Type: Burner Weldment Assembly
SOUTHBEND:
Write Your Own Review
You're reviewing:Southbend 1130399 Hi Glow Burner Weldment Assembly
Your Rating
Customer Questions
What maintenance is required for the Southbend 1130399 Burner Weldment Assembly?

Regularly inspect the burner assembly for carbon buildup, rust, or warped surfaces that can affect flame distribution. Clean burner ports carefully to prevent clogging and ensure even heat output. Check gas connections and mounting hardware for tightness and leaks during routine servicing. Always shut off gas supply and allow the unit to cool completely before performing any maintenance or cleaning.

What are common issues with the Southbend 1130399 Burner Weldment Assembly?

  • Clogged burner ports causing weak or uneven flame.
  • Ignition delays or failure to light properly.
  • Excess carbon buildup restricting gas flow.
  • Warped or corroded burner components affecting performance.

We strive to provide our customers with a hassle-free and efficient shopping experience. Our shipping policy ensures the timely delivery of your orders and complete customer satisfaction. View More

We are committed to ensuring your complete satisfaction with every purchase. We understand that circumstances may arise where you must return a product or request a refund. If for any reason you are not satisfied, you may return the item(s) according to the terms outlined below. View More

This Payment Policy outlines the terms and conditions governing all payments made for products purchased through our website. By making a purchase, you agree to be bound by this Payment Policy. View More

Installation Steps

Step1: Turn off gas supply and disconnect power to the broiler.

Step2: Allow unit to cool completely before starting.

Step3: Remove access panels and detach the old burner assembly.

Step4: Position the new burner weldment and secure it firmly.

Step5: Reconnect gas lines, ensuring tight, leak-free fittings.

Step6: Reassemble panels and restore gas and power supply.

Step7: Test ignition and check for proper flame and leaks.