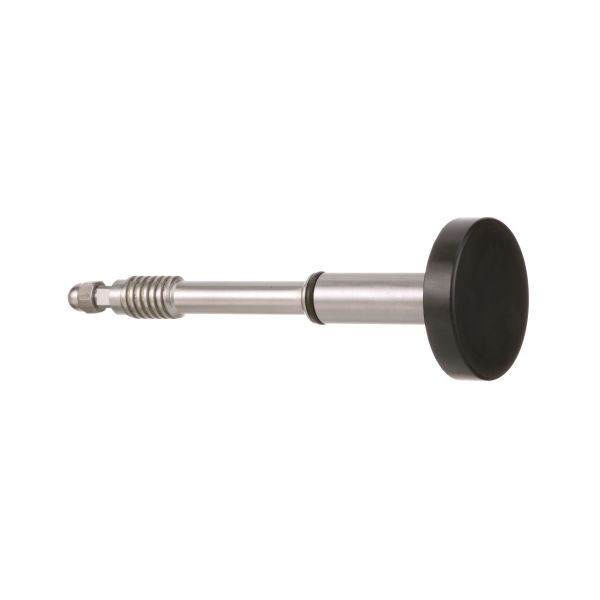
Groen Z001908 Oven Pilot Assembly W/ 1/4" Tube Left Flame Pattern Orifice NAT/LP

Special Price $487.90 Regular Price $764.73
In stock
SKU
Z001908
Manufacturer:
The Groen Z001908 Oven Pilot Assembly with a 1/4" tube uses a left-flame pattern orifice to work with both natural gas and propane gas. This oven's pilot assembly starts well every time and keeps the flame running steadily and accurate on its path. Made to last, this part works well in commercial kitchens and food service equipment. The pilot assembly helps the burner work better, saves gas, and keeps the flame steady it's a necessary part for making sure your Groen oven cooks properly.

Dimensions

  • Length: 9.5 In
  • Width: 3 In
  • Height: 1 In
  • Weight: 2.048 lbs
https://partsfe.com/media/catalog/product/g/r/groen-z001908-oevn-pilot-assembly-w-1-4-tube-left-flame-pattern-orifice-nat-lp-70512.jpg

Product Notes

  • 3" Ss Stem, For 3" Draw-Off Valve # 56-1151
  • For Knob Use # 22-1083
  • Acorn Nut - # 26-1524
  • O-Ring # 32-1172
  • Cleveland
  • Groen Kettle Series: Dah.
  • Legion Kettle
  • Market Forge Kettle F-(20Le,20Pe,30Le,30Pe,40Le,
  • 40Pe,60Le,60Pe,80Le,80Pe), Ft(20Le,30Le,40Le,60Le,80Le).
  • Southbend Kettle
  • Vulcan Kettle Series: Vd(L,Lt,P,Pt,Ws,Wt), Ve(L,Lt,P).
CLEVELAND:
107487, CLE107487, CLESE50010, CLESE50010RV, SE50010, SE50010RV
MARKET FORGE:
VULCAN HART:
Write Your Own Review
You're reviewing:Groen Z001908 Oven Pilot Assembly W/ 1/4" Tube Left Flame Pattern Orifice NAT/LP
Your Rating
Customer Questions
What maintenance is required for the Groen Z001908 Pilot Assembly?

Regularly inspect the oven pilot assembly for debris, soot, or blockages that may affect flame stability. Clean the orifice and tubing carefully to maintain proper gas flow. Ensure connections are secure to prevent leaks. Always shut off gas supply before servicing.

What are common issues with the Groen Z001908 Pilot Assembly?

  • Weak or inconsistent pilot flame output.
  • Blocked or clogged orifice affecting ignition.
  • Gas flow irregularities due to tubing damage.
  • Oven pilot failing to stay lit under normal conditions.
  • Improper flame pattern causing uneven heating.

We strive to provide our customers with a hassle-free and efficient shopping experience. Our shipping policy ensures the timely delivery of your orders and complete customer satisfaction. View More

We are committed to ensuring your complete satisfaction with every purchase. We understand that circumstances may arise where you must return a product or request a refund. If for any reason you are not satisfied, you may return the item(s) according to the terms outlined below. View More

This Payment Policy outlines the terms and conditions governing all payments made for products purchased through our website. By making a purchase, you agree to be bound by this Payment Policy. View More

Installation Steps

Step1: Shut off gas supply and power, ensure oven is fully cool and ventilated before servicing.

Step2: Remove access panel and disconnect existing old pilot assembly and tube safely.

Step3: Install new pilot assembly, aligning flame orifice for the configuration.

Step4: Reconnect tubing securely, checking for tight, leak-free fittings.

Step5: Restore gas, light pilot per manufacturer procedure, and check stable flame pattern.