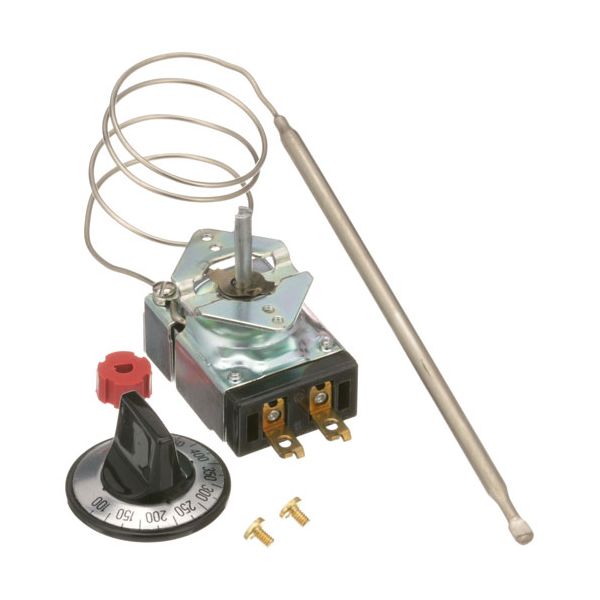
ADVANCE TABCO SUP220A K Thermostat W/ Black Printed Dial & 1/4" X 7" Blub

Special Price $96.04 Regular Price $147.99
In stock
SKU
SUP220A
Manufacturer:
The ADVANCE TABCO SUP220A K Thermostat equipped with a black and 1/4" x 7" bulb functions as a temperature control for improve kitchen. This thermostat delivers precise temperature control which results in both efficient operation and decreased energy usage. Users benefit from clear dial visibility through its durable black printed dial combined with the precise measurement capabilities of its 1/4" x 7" bulb. The SUP220A maintains consistent conditions by protecting temperature-sensitive environments including food service equipment and refrigeration systems. The dependable thermostat provides protection and Highperformance by minimizing the chance of equipment damage.

Dimensions

  • Length: 8.3 In
  • Width: 6 In
  • Height: 3 In
  • Weight: 0.6 lbs
https://partsfe.com/media/catalog/product/a/d/advance-tabco-sup220a-k-thermostat-w-black-printed-dial-1-4-x-7-blub-99082.jpg

Product Notes

  • [ Type - K T'Stat ][ Temp 100-450 ] [ Bulb 1/4" X 7" ]
  • [ Cap 24" ] [Black Printed Dial # 22-1179 Or
  • Dial W/ Overlay # 22-1004.
  • Toastmaster Sanwich Grill Model A710
  • Garland Grill
ADVANCE TABCO:
MIDDLEBY MARSHALL:
STAR MFG:
Write Your Own Review
You're reviewing:ADVANCE TABCO SUP220A K Thermostat W/ Black Printed Dial & 1/4" X 7" Blub
Your Rating
Customer Questions
What maintenance is required for the ADVANCE TABCO SUP220A Thermostat?

Inspect the thermostat regularly for loose wiring, damaged capillary tubing, corrosion, or signs of overheating. Keep the control area clean and free from grease, moisture, and debris that could affect temperature regulation. Verify that the thermostat responds correctly to temperature adjustments during routine inspections.

What are common issues with the ADVANCE TABCO SUP220A Thermostat?

  • Temperature control drifting.
  • Dial becoming difficult to adjust.
  • Bulb sensing inaccurately.
  • Capillary damage occurring.
  • Heating cycles inconsistent.

We strive to provide our customers with a hassle-free and efficient shopping experience. Our shipping policy ensures the timely delivery of your orders and complete customer satisfaction. View More

We are committed to ensuring your complete satisfaction with every purchase. We understand that circumstances may arise where you must return a product or request a refund. If for any reason you are not satisfied, you may return the item(s) according to the terms outlined below. View More

This Payment Policy outlines the terms and conditions governing all payments made for products purchased through our website. By making a purchase, you agree to be bound by this Payment Policy. View More

Installation Steps

Step1: Turn off power and ensure equipment is cool before starting installation for safety.

Step2: Remove old thermostat and note wiring positions.

Step3: Mount new thermostat in same position securely.

Step4: Connect wires to matching terminals as labeled.

Step5: Insert sensing bulb into designated sleeve or well fully carefully.

Step6: Restore power and test temperature response, adjusting dial calibration if needed.