

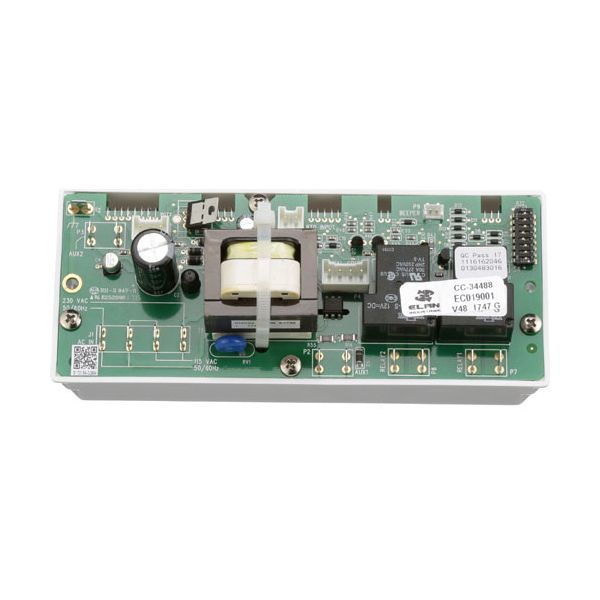
Alto-Shaam CC-34488R Oven Manual Thermostat Assembly W/Digital Control

Special Price $309.46 Regular Price $401.95
In stock
SKU
CC-34488R
Manufacturer:

The Alto-Shaam CC-34488R Oven Manual Thermostat Assembly with Digital Control is used to control the heating of oven by converting manual temperature settings into electrical signals. It is used with the digital display of the oven to keep the predetermined cooking temperature during the process. This element is installed in the oven and is normally near the main control panel and is directly connected to the heating system. It enables the oven have constant temperatures during cooking periods, which facilitates control and uniformity of operations.

Dimensions

  • Length: 7.75 In
  • Width: 3.5 In
  • Height: 3.5 In
  • Weight: 1.12 lbs
https://partsfe.com/media/catalog/product/a/l/alto-shaam-cc-34488r-manual-thermostat-assembly-with-digital-control-84830-2.jpg

Product Notes

  • Manual Thermostat Assembly With Digital Control.
  • Pcb ( Printed Circuit Board )
  • Alto=Shaam 1000-Bq2/128, 1000-Bq2/192, 1000-Bq2/96
Write Your Own Review
You're reviewing:Alto-Shaam CC-34488R Oven Manual Thermostat Assembly W/Digital Control
Your Rating
Customer Questions
What maintenance is required for the Alto-Shaam CC-34488R Thermostat Assembly With Digital Control?

Inspect the thermostat assembly regularly for loose wiring, damaged connectors, or signs of overheating on the control board. Keep the control panel clean and dry to prevent moisture or grease buildup that may affect digital readings. Verify accurate temperature response during equipment operation and recalibrate if needed. Disconnect power before servicing electrical components for safety.

What are common issues with the Alto-Shaam CC-34488R Thermostat Assembly With Digital Control?

  • Digital display malfunction or inaccurate readings.
  • Failure to regulate temperature consistently.
  • Loose or faulty wiring affecting performance.
  • Thermostat not responding to manual adjustments.

We strive to provide our customers with a hassle-free and efficient shopping experience. Our shipping policy ensures the timely delivery of your orders and complete customer satisfaction. View More

We are committed to ensuring your complete satisfaction with every purchase. We understand that circumstances may arise where you must return a product or request a refund. If for any reason you are not satisfied, you may return the item(s) according to the terms outlined below. View More

This Payment Policy outlines the terms and conditions governing all payments made for products purchased through our website. By making a purchase, you agree to be bound by this Payment Policy. View More

Installation Steps

Step1: Turn off power and unplug unit before beginning installation to avoid electrical shock.

Step2: Remove access panel and place existing thermostat assembly inside the control compartment.

Step3: Disconnect wiring from old unit, labeling terminals to ensure correct reconnection later.

Step4: Mount new thermostat assembly securely using original screws and fittings.

Step5: Reconnect wiring to matching terminals and ensure all connections are tight and insulated.

Step6: Restore power, test digital control response, and check temperature accuracy.