
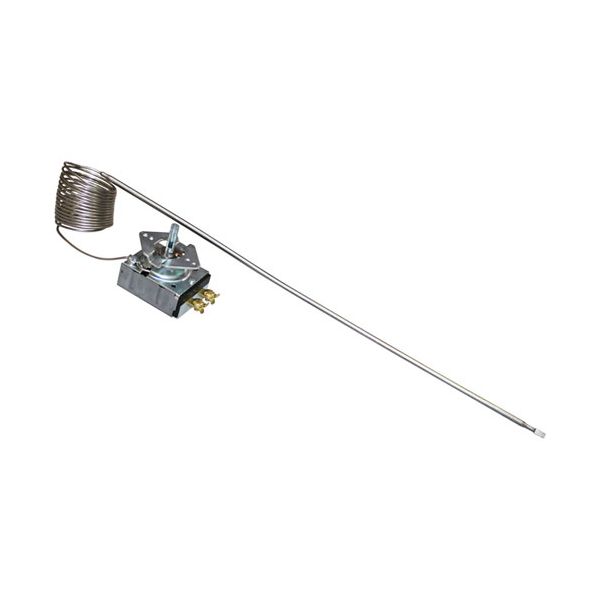
Alto-Shaam TT-33432 B10 Thermostat W/3/16" X 16" BULB & D-STEM Knob 60°F-200°F

Special Price $131.75 Regular Price $203.00
In stock
SKU
TT-33432
Manufacturer:

The Alto-Shaam TT-33432 Hold Thermostat 84" Capillary controls temperature by sensing heat with its long capillary tube that sends temperature variations to the internal control mechanism. This modulates the electrical circuit to keep the electrical circuit within a desired holding range. This unit is assembled as part of the control panel of the unit or inside the internal housing and the capillary is connected to the sensing point where it measures the conditions and controls the amount of heat during normal operation.

Dimensions

  • Length: 17 In
  • Width: 2.5 In
  • Height: 3 In
  • Weight: 0.6 lbs
https://partsfe.com/media/catalog/product/a/l/alto-shaam-tt-33432-b10-thermostat-w-3-16-x-16-bulb-d-stem-knob-60-f-200-f-93204.jpg

Product Notes

  • T'Stat B10, Temp 60-200, Cap 84", Bulb 3/16" X 16"
  • D-Stem Flat Down
  • Use Knob A928, K-192, # 221067 Off-200-60
  • If Pointer Dial Is Needed Use Oem # Kn-26568
  • Alto-Shaam
  • Warmer 1000Up, 1200-Up, 1200-Ups, 1200-Up/Sr
U-LINE:
Z87147-84
Write Your Own Review
You're reviewing:Alto-Shaam TT-33432 B10 Thermostat W/3/16" X 16" BULB & D-STEM Knob 60°F-200°F
Your Rating
Customer Questions
What maintenance is required for the Alto-Shaam TT-33432 Thermostat?

Inspect the thermostat bulb and capillary tube regularly for kinks or damage. Keep electrical connections tight and free from corrosion to ensure stable control. Clean the sensing area gently to avoid debris buildup. Regular calibration checks assist maintain accurate temperature regulation and better equipment operation.

What are common issues with the Alto-Shaam TT-33432 Thermostat?

  • Inaccurate temperature control or drifting readings during operation.
  • Faulty or stuck knob preventing proper adjustment.
  • Damaged bulb or capillary causing loss of sensing response.
  • Intermittent heating due to weak electrical contact or internal damage.

We strive to provide our customers with a hassle-free and efficient shopping experience. Our shipping policy ensures the timely delivery of your orders and complete customer satisfaction. View More

We are committed to ensuring your complete satisfaction with every purchase. We understand that circumstances may arise where you must return a product or request a refund. If for any reason you are not satisfied, you may return the item(s) according to the terms outlined below. View More

This Payment Policy outlines the terms and conditions governing all payments made for products purchased through our website. By making a purchase, you agree to be bound by this Payment Policy. View More

Installation Steps

Step1: Disconnect electrical power and confirm the unit is fully cooled before starting work.

Step2: Remove the control panel to access the thermostat body and sensing bulb assembly.

Step3: Disconnect and label wiring, then remove the old bulb from its retaining bracket.

Step4: Install the new thermostat, position the bulb in the same cavity location, and secure it properly.

Step5: Reconnect wiring, reassemble the panel, restore power, and check smooth temperature control across the full range.