
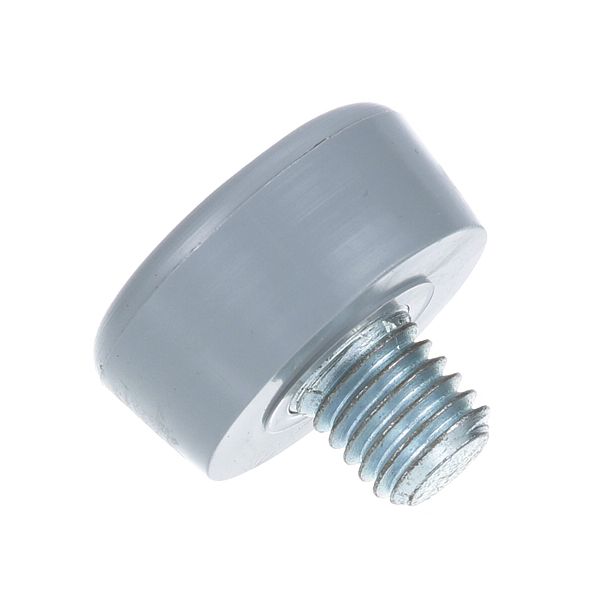
Globe 817-S Slicer Rubber Foot 5/8"H 1/2"-13 Stud
Special Price $23.46 Regular Price $27.95
In stock
SKU
817-S
Manufacturer:

The Globe 817-S Slicer Rubber Foot 5/8"H 1/2"-13 Stud cushions and supports equipment, absorbs vibration, and provides a flexible point of contact between the unit and the floor or surface. It has a rubber-molded body and a metal insert of 1/2-13 threads, which means that the foot can be screwed into a compatible mounting point. It is mounted on the lower part of commercial kitchen equipment where surface protection and vibration damping are required. This rubber foot is used in applications that are planned to use that thread size and diameter in foodservice and industrial settings.
Dimensions
- Length: 1.75 In
- Width: 1.75 In
- Height: 1.125 In
- Weight: 0.1 lbs
Product Notes
- Rubber Foot, 5/8" Dia, [ Stud 1/2"-13 ] [ Grey ]
- [Material Hard Rubber] [ Type Foot Round ] , Screw Stud
- Globe Slicer "Arby'S", 285, 300, 400, 500, 510, 685,
- 710, 715, 720, 725, 760, 765, 770, 775, 815, 820, 825.