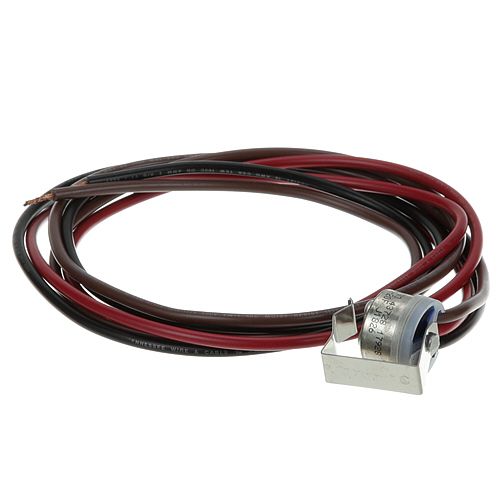
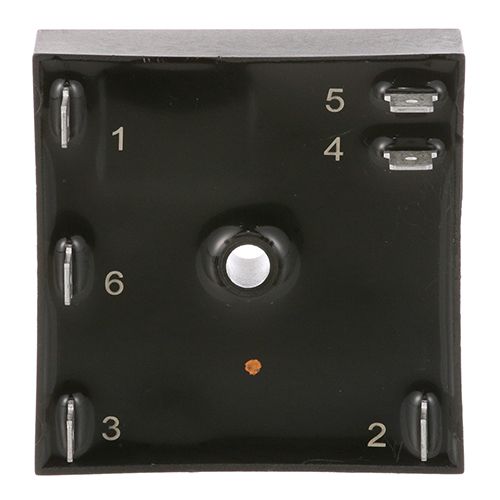
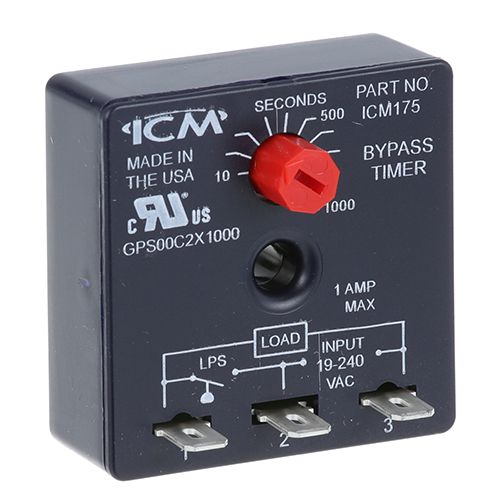
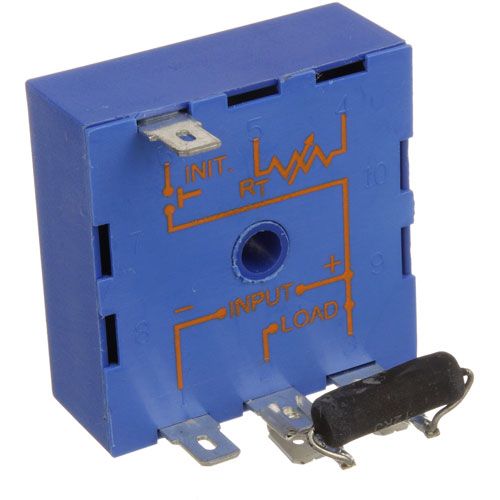
Southbend 9242-2 Time Delay Relay, 230V

Special Price $413.33 Regular Price $475.09
In stock
SKU
9242-2
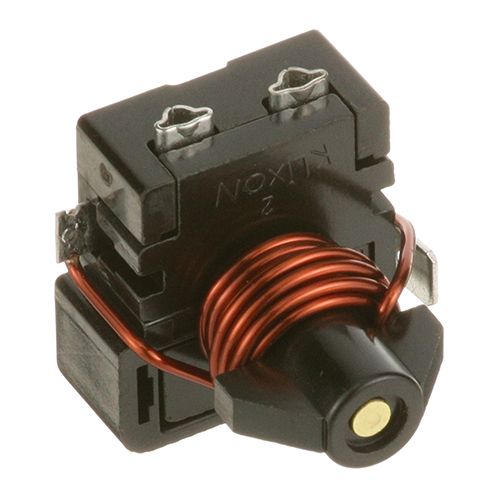
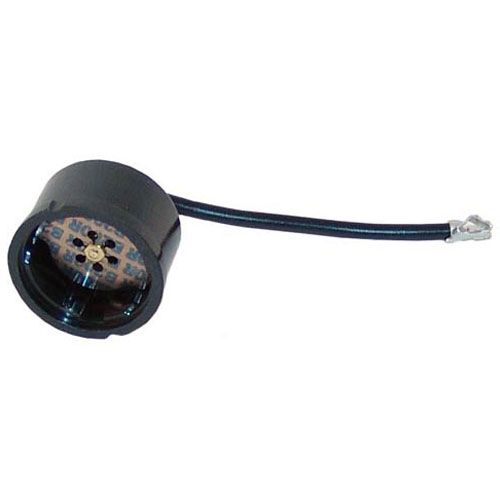
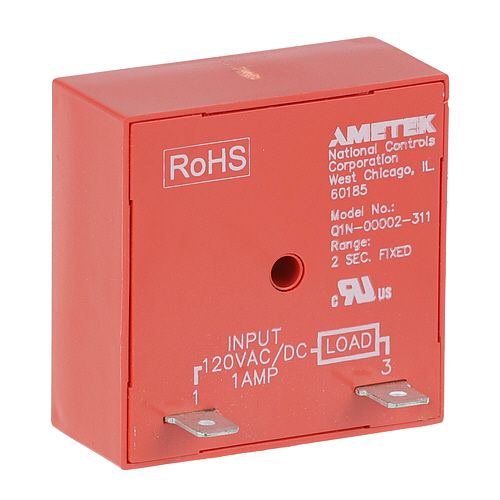
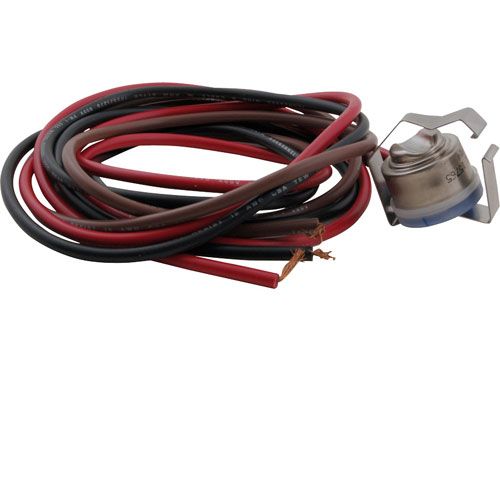
The Southbend 9242-2 Time Delay Relay 230 V waits a specific time duration before it switches on or off electrical circuits when power is connected to it. It holds the output at the same level as it was at the beginning until the timing period is reached, and it makes the circuit switch based on the relay design. The relay is designed to be fitted in the electrical compartment of compatible commercial cooking or control systems and is wired to the control wiring. Once installed it controls the delayed sequencing of system operations.

Dimensions

  • Length: 3 In
  • Width: 3 In
  • Height: 2 In
  • Weight: 0.2 lbs
https://partsfe.com/media/catalog/product/s/o/southbend-9242-2-time-delay-relay-230v-89757-2.jpg

Product Notes

  • 230V
CROWN STEAM:
MARKET FORGE:
SOUTHBEND:
Write Your Own Review
You're reviewing:Southbend 9242-2 Time Delay Relay, 230V
Your Rating
Customer Questions
What maintenance is required for the Southbend 9242-2 Time Delay Relay?

Inspect wiring connections and ensure the relay operates at the correct supply. Clean dust from terminals and enclosures to prevent overheating. Periodically test timing accuracy and replace worn contacts to maintain accurate switching performance and system safety.

What are common issues with the Southbend 9242-2 Time Delay Relay?

  • Timing drift or inaccurate delay settings.
  • Relay coil burnout or failure.
  • Contact welding or pitting.
  • Intermittent switching or signal loss.
  • Overheating under continuous load.
  • Voltage sensitivity issues.
  • Relay chatter or inconsistent operation.

We strive to provide our customers with a hassle-free and efficient shopping experience. Our shipping policy ensures the timely delivery of your orders and complete customer satisfaction. View More

We are committed to ensuring your complete satisfaction with every purchase. We understand that circumstances may arise where you must return a product or request a refund. If for any reason you are not satisfied, you may return the item(s) according to the terms outlined below. View More

This Payment Policy outlines the terms and conditions governing all payments made for products purchased through our website. By making a purchase, you agree to be bound by this Payment Policy. View More

Installation Steps

Step1: Turn off power at breaker and check zero voltage.

Step2: Access control panel and locate existing relay.

Step3: Label and disconnect wiring terminals carefully.

Step4: Remove old relay and mount new relay securely on bracket.

Step5: Reconnect wires per diagram, ensuring tight connections.

Step6: Restore power and test timed delay operation.

Step7: Ensure panel is closed and observe proper cycling.