
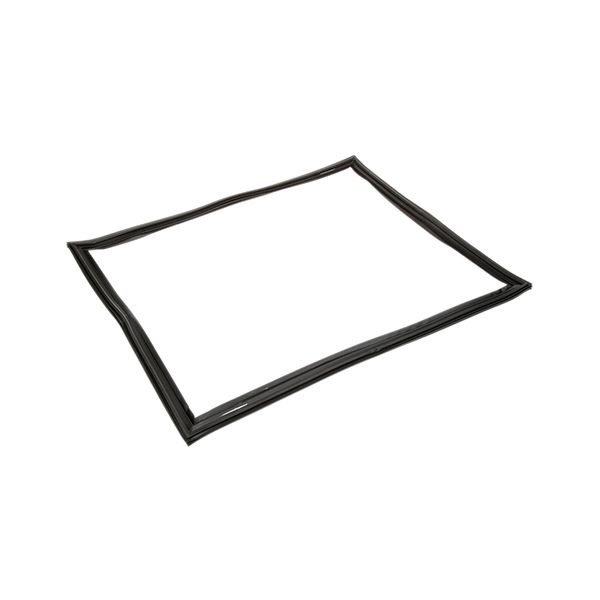
Turbo Air TRBAM722300103 Door Gasket

Special Price $68.79 Regular Price $106.00
In stock
SKU
TRBAM722300103
Manufacturer:

The Turbo Air TRBAM722300103 Door Gasket is a tight-fitting seal that fits into the frame of the cabinet when the door is closed, which assists in keeping the internal temperature of the refrigeration unit. It has a flexible profile that can have an inbuilt magnetic strip to ensure that the door is held flat against the surface when it is in use. This gasket is fitted around the sides of the refrigerator/freezer, and it goes into the channel around the frame. In commercial foodservice settings, it aids in the appropriate closure and the restriction of air exchange between the cabinet interior and the surrounding conditions.

Dimensions

  • Length: 23 In
  • Width: 3 In
  • Height: 2 In
  • Weight: 0.7 lbs
https://partsfe.com/media/catalog/product/t/u/turbo-air-trbam722300103-door-gasket-25676.jpg
Manufacturer Name: Turbo Air
Product Number: TRBAM722300103
OEM Part Number: TRBAM722300103
Product Description: Door Gasket
Similar Models:M722300103 - Turbo-Air
Dimensions:
Length:23in/58.42cm
Width:3in/7.62cm
Height:2in/5.08cm
Weight:0.7lbs/317.51g

Choose the best Commercial kitchen & Restaurant equipment parts and supplies from PartsFe!

  • Same Day Shipping

  • Best Quality And Best Price

  • Wide Range of Inventory

  • Best Customer Service

Have More Questions or Need Help to Place The Order?
Reach us at 866-863-0907 or contact@partsfe.com

Write Your Own Review
You're reviewing:Turbo Air TRBAM722300103 Door Gasket
Your Rating
Customer Questions
What maintenance is required for the Turbo Air TRBAM722300103 Door Gasket?

Regularly clean the gasket with mild soap and warm water to remove dirt, grease, and food residue. Inspect for cracks, tearing, or loss of flexibility that may affect sealing. Ensure the gasket is properly aligned and seated to maintain an airtight seal and efficient cooling.

What are common issues with the Turbo Air TRBAM722300103 Door Gasket?

  • Loss of sealing causing air leakage.
  • Cracking or tearing due to wear or age.
  • Buildup of dirt or mold affecting hygiene and fit.
  • Loose or misaligned gasket reducing cooling efficiency.

We strive to provide our customers with a hassle-free and efficient shopping experience. Our shipping policy ensures the timely delivery of your orders and complete customer satisfaction. View More

We are committed to ensuring your complete satisfaction with every purchase. We understand that circumstances may arise where you must return a product or request a refund. If for any reason you are not satisfied, you may return the item(s) according to the terms outlined below. View More

This Payment Policy outlines the terms and conditions governing all payments made for products purchased through our website. By making a purchase, you agree to be bound by this Payment Policy. View More

Installation Steps

Step1: Turn off and unplug the unit for safety.

Step2: Remove the old gasket by pulling it from the door groove.

Step3: Clean the gasket channel thoroughly.

Step4: Soak the new gasket in warm water to soften.

Step5: Align and press the gasket into the groove evenly.

Step6: Check corners for a tight seal and adjust if needed.

Step7: Close the door to ensure proper fit and restore power.