
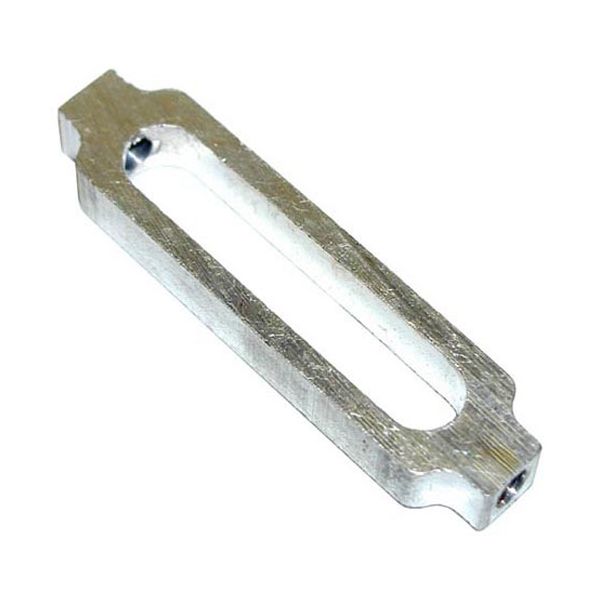
Imperial 30393 Convection Oven Turnbuckle Body 1/4"-20 X 2-7/8" Length

Special Price $18.40 Regular Price $37.54
In stock
SKU
30393
Manufacturer:

The Imperial 30393 Convection Oven Turnbuckle Body 1/4"-20 x 2-7/8" Length 2 threaded ends can be adjusted to various tensions or lengths by turning the central body. The threaded ends are pulled towards or pushed away as the turnbuckle is turned to tighten or loosen the connection between the connected parts. It is mounted between similar 1/4 inch -20 threaded rods or fittings in compatible equipment where adjustable linkage is required. This turnbuckle body is used in applications that are to be that size and length in commercial kitchens and industrial assemblies.

Dimensions

  • Length: 3 In
  • Width: 0.75 In
  • Height: 0.75 In
  • Weight: 0.03 lbs
https://partsfe.com/media/catalog/product/i/m/imperial-30393-1-4-20-aluminum-turnbuckle-body-2-7-8-length-57922-2.jpg

Product Notes

  • 1/4"-20 Aluminum Turnbuckle Body 2-7/8"
  • Imperial Oven Icv
IMPERIAL:
Write Your Own Review
You're reviewing:Imperial 30393 Convection Oven Turnbuckle Body 1/4"-20 X 2-7/8" Length
Your Rating
Customer Questions
What maintenance is required for the Imperial 30393 Aluminum Turnbuckle Body?

Keep threads clean and lightly lubricated to prevent seizing. Regularly inspect for corrosion, deformation, or thread wear, especially after heavy loads. Ensure proper tightening torque during use to maintain safe and accurate tensioning performance.

What are common issues with the Imperial 30393 Aluminum Turnbuckle Body?

  • Thread galling or seizing of threads due to lack of lubrication on the threads.
  • Aluminum body deformation under excessive load.
  • Corrosion or oxidation in harsh conductions.
  • Cross-threading or stripped threads during installation.

We strive to provide our customers with a hassle-free and efficient shopping experience. Our shipping policy ensures the timely delivery of your orders and complete customer satisfaction. View More

We are committed to ensuring your complete satisfaction with every purchase. We understand that circumstances may arise where you must return a product or request a refund. If for any reason you are not satisfied, you may return the item(s) according to the terms outlined below. View More

This Payment Policy outlines the terms and conditions governing all payments made for products purchased through our website. By making a purchase, you agree to be bound by this Payment Policy. View More

Installation Steps

Step1: Turn off the equipment and disconnect power or gas supply before servicing.

Step2: Locate the existing turnbuckle assembly on the support linkage.

Step3: Loosen the lock nuts and remove the damaged turnbuckle body from the threaded rods.

Step4: Thread the new turnbuckle body onto both rod ends evenly.

Step5: Adjust tension and alignment until the connected components operate smoothly.

Step6: Tighten the lock nuts securely and test the equipment for proper movement and stability.