

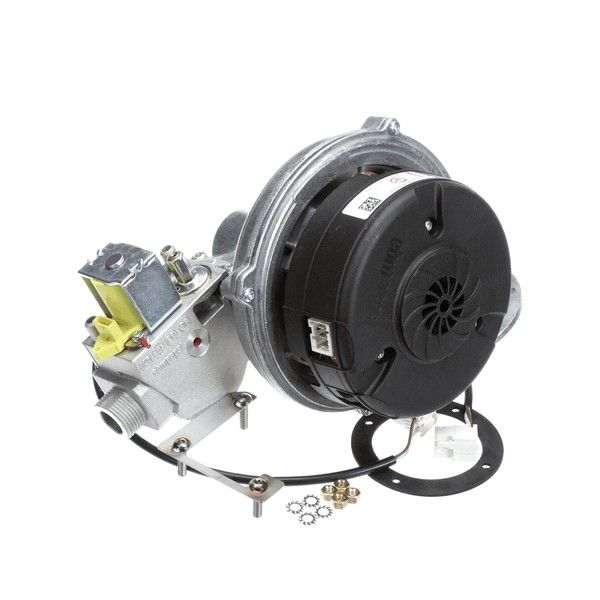
Unox KVG1016C Venturi/Blower Assembly 45kW 120V 60Hz MAX

Special Price $579.15 Regular Price $946.95
In stock
SKU
KVG1016C
Manufacturer:

The Unox KVG1016C Venturi/Blower Assembly MAX 45kW 120V 60Hz is designed to provide controlled airflow in commercial kitchens, allowing it to spread heat evenly, and maintain a steady cooking process. It is commonly fitted in convection systems, in which it aids in proper ventilation and circulation which keeps the temperature of the cooking chamber even. This assembly is part of the thermal system, ensuring system stability and preventing overheating. Its design enables quick integration with the existing models, which adds to the stable, regular operation in the high-demand kitchen setting.

Dimensions

  • Weight: 0 lbs
https://partsfe.com/media/catalog/product/k/v/kvg1016c-1.jpg
Write Your Own Review
You're reviewing:Unox KVG1016C Venturi/Blower Assembly 45kW 120V 60Hz MAX
Your Rating
Customer Questions
What maintenance is required for the Unox KVG1016C Venturi/Blower Assembly?

Inspect the venturi/blower assembly regularly for grease buildup, dust accumulation, loose fasteners, and airflow obstructions. Clean the blower wheel and surrounding components using approved cleaning methods to maintain proper air circulation. Check electrical connections and mounting hardware for security during routine inspections.

What are common issues with the Unox KVG1016C Venturi/Blower Assembly?

  • Reduced airflow caused by debris buildup within the blower assembly.
  • Excessive noise resulting from worn or unbalanced blower components.
  • Vibration due to loose mounting hardware or misalignment.
  • Motor performance issues causing inconsistent air circulation.

We strive to provide our customers with a hassle-free and efficient shopping experience. Our shipping policy ensures the timely delivery of your orders and complete customer satisfaction. View More

We are committed to ensuring your complete satisfaction with every purchase. We understand that circumstances may arise where you must return a product or request a refund. If for any reason you are not satisfied, you may return the item(s) according to the terms outlined below. View More

This Payment Policy outlines the terms and conditions governing all payments made for products purchased through our website. By making a purchase, you agree to be bound by this Payment Policy. View More

Installation Steps

Step1: Turn off power supply and allow oven to cool completely; verify lockout tagout procedures.

Step2: Remove existing blower assembly and inspect venturi housing for debris thoroughly.

Step3: Position new blower assembly and secure mounting brackets tightly securely.

Step4: Reconnect electrical wiring (120V 60Hz) and ensure venturi premix lines are sealed connections.

Step5: Restore power, check airflow, and test operation while keeping clear of moving parts carefully.