
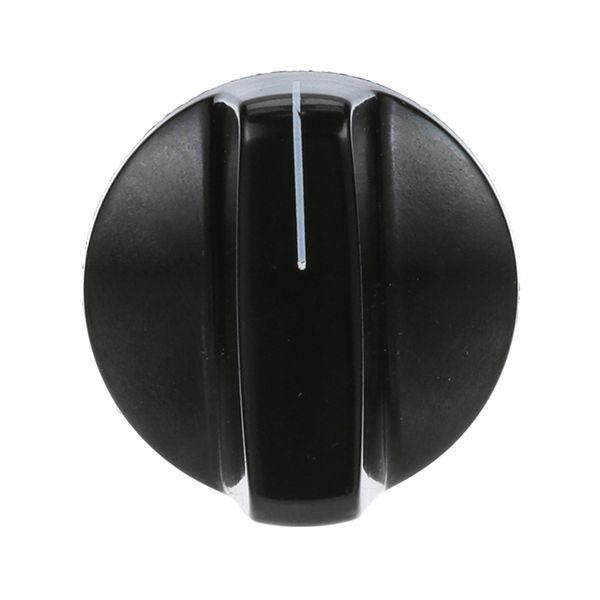
Knob1-1/8 D For Vita-Mix - Part# Vmpls132
$7.12
In stock
SKU
VMPLS132
Manufacturer:

Knob 1-1/8 D
Dimensions
- Weight: 0.1 lbs

| Manufacturer Name: Vita-Mix Product Number: VMPLS132 OEM Part Number: VMPLS132 Product Description: Black Pointer Knob,;[ 1-1/8" Dia ] [Mount .228"] [Position Down ],;Garland 684Rc, 686Rc, E22-36-45Gm, E22-36-48Gm,;E22-36-56Gm,E22-36-60Gm, E22-36-68Gm, E22-36-72Gm, Ed-15F,;Ed-15H,Ed-15Hse, Ed-15Sf, Ed-15Thse, Ed-30Ft, Ed-30Sft,;Ed/Edu-15B,Ed/Edu-30B, Ed/Edu-42B, Edu-15Hse, Edu-18F,;Edu-18Sf,Edu-36Ft, Edu-36Sf, Ss684, Ss686, Stw-286, Su684,;Su686;Vita-Mix Blender Timer Knob, For Timer # 42-1497 Similar Models:15732 - Vita-Mix, PLS132 - Vita-Mix, PLS207 - Vita-Mix, VM15732 - Vita-Mix, VMPLS207 - Vita-Mix Dimensions: Length:1.125in/2.86cm Width:1.125in/2.86cm Height:0.75in/1.9cm Weight:0.1lbs/45.36g |
Same Day Shipping
Best Quality And Best Price
Wide Range of Inventory
Best Customer Service
We strive to provide our customers with a hassle-free and efficient shopping experience. Our shipping policy ensures the timely delivery of your orders and complete customer satisfaction. View More
We are committed to ensuring your complete satisfaction with every purchase. We understand that circumstances may arise where you must return a product or request a refund. If for any reason you are not satisfied, you may return the item(s) according to the terms outlined below. View More
This Payment Policy outlines the terms and conditions governing all payments made for products purchased through our website. By making a purchase, you agree to be bound by this Payment Policy. View More
Step1: Unplug the blender to avoid electrical shock or accidental startup.
Step2: Pull off the old knob straight from the control shaft; use gentle force.
Step3: Inspect and clean the shaft to remove debris or residue.
Step4: Align the new knob with the flat side of the shaft.
Step5: Push firmly until fully seated and secure.
Step6: Restore power and test smooth rotation and proper control response.