
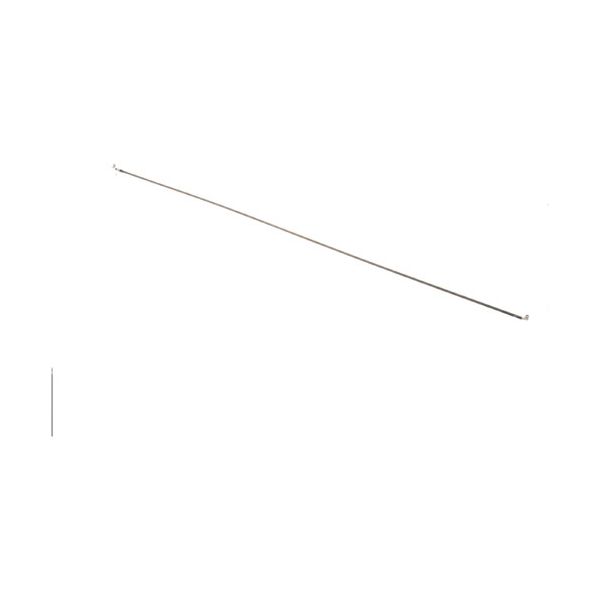
Hatco R02.08.112D.00 Element 44-1/2" 240V 1100W

Special Price $46.06 Regular Price $85.00
In stock
SKU
R02.08.112D.00
Manufacturer:

The Hatco R02.08.112D.00 Element serves commercial food service applications by utilizing its 44-1/2" length to deliver efficient heat transfer at 1100W capacity when operating at 240V. Its durable construction combined with 260 diameter makes this element suitable for demanding environments. This element works perfectly in Hatco's Glo-Ray heated display cabinets to improve food presentation while keeping dishes at the proper serving temperatures. This element features a compact which enables simple installation and replacement in high-volume kitchens. The R02.08.112D.00 works with multiple Hatco GRH48 series models to provide flexibility in different installation environments.

Dimensions

  • Length: 45 In
  • Width: 2 In
  • Height: 2 In
  • Weight: 0.5 lbs
https://partsfe.com/media/catalog/product/h/a/hatco-r02-08-112d-00-element-44-1-2-240v-1100w-17360.jpg

Product Notes

  • .260 Dia Element
Write Your Own Review
You're reviewing:Hatco R02.08.112D.00 Element 44-1/2" 240V 1100W
Your Rating
Customer Questions
What is the Best Electric Griddle?

Electric Griddle is an electronic equipment that uses an electric element as its heat source. It has a large cooking surface often made up of nonstick material. Electric Griddle has a surface which you do not find in the regular stovetop cookware. ...

What maintenance is required for the Hatco R02.08.112D.00 Element?

Regular inspection of electrical connections and terminals is essential to ensure stable heating performance and prevent loose wiring issues. Clean any dust or debris buildup carefully using a dry cloth while ensuring the unit is disconnected from power. Preventive checks supports maintain consistent heat output and reduce the risk of uneven performance. Always follow electrical safety procedures before servicing.

What are common issues with the Hatco R02.08.112D.00 Element?

  • Uneven heating or partial heating failure along the element.
  • Electrical resistance fluctuations causing inconsistent output.
  • Breakage or burnout of heating coil under heavy load.
  • Loose or corroded terminals leading to intermittent operation.

We strive to provide our customers with a hassle-free and efficient shopping experience. Our shipping policy ensures the timely delivery of your orders and complete customer satisfaction. View More

We are committed to ensuring your complete satisfaction with every purchase. We understand that circumstances may arise where you must return a product or request a refund. If for any reason you are not satisfied, you may return the item(s) according to the terms outlined below. View More

This Payment Policy outlines the terms and conditions governing all payments made for products purchased through our website. By making a purchase, you agree to be bound by this Payment Policy. View More

Installation Steps

Step1: Turn off and disconnect power, allow unit to cool completely.

Step2: Access the heating compartment by removing the cover panel.

Step3: Label and disconnect wires from the old element.

Step4: Remove mounting brackets and slide out the old element.

Step5: Install the new element in the same position and secure it.

Step6: Reconnect wiring properly and replace the panel.

Step7: Restore power and test operation.