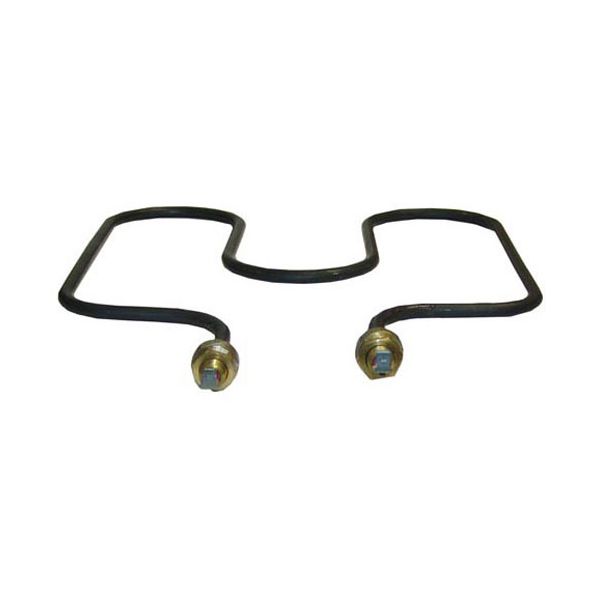
Star Mfg 2N-Z4058 Grill Warmer Element

Special Price $218.30 Regular Price $336.37
In stock
SKU
2N-Z4058
Manufacturer:
The Star Mfg 2N-Z4058 Warmer Element is a high-quality heating element that is used in grilling. This durable component does this through the constant and effective production of warmth to grill foods so they stay warm for serving. It is ideal to be used in establishments that deal with food service from restaurants, to catering services and even concession stands. The element also prevents hot areas that cause the food to spoil and guarantees the food quality it is built to last which makes it efficient for use in busy kitchens where it is needed most.

Dimensions

  • Length: 13 In
  • Width: 11 In
  • Height: 1 In
  • Weight: 0.9 lbs
https://partsfe.com/media/catalog/product/s/t/star-mfg-2n-z4058-grill-warmer-element-45596-2.jpg

Product Notes

  • Element, [ 120V 1000W 1Ph ] [ 11" X 12-1/2" ]
  • [Terminals {2Ea 1/4" Male Tabs },
  • Star Combination Hot Dog Steamer & Bun Warmer 8A-35Sxe,
  • 70Ssa
STAR MFG:
Write Your Own Review
You're reviewing:Star Mfg 2N-Z4058 Grill Warmer Element
Your Rating
Customer Questions
How to replace an oven element by yourself ?

When you wanted to replace an oven element, you first need to remove the power plug from the power cord so that there would be no power exchange. Firstly open the oven door and remove the racks inside it. Keep them aside. At the bottom, you will find...

What maintenance is required for the Star Mfg 2N-Z4058 Grill Element?

Clean the warmer element to remove grease and carbon buildup for efficient heat transfer. Inspect connections for looseness or corrosion to ensure stable performance. Disconnect power before servicing and keep it dry to prevent electrical hazards.

What are the common issues with the Star Mfg 2N-Z4058 Grill Element?

  • Uneven warmer heating or hot spots due to element wear or buildup.
  • Electrical connection failure causing intermittent heating or no power.
  • Grease accumulation leading to reduced performance and overheating.
  • Element burnout or reduced output from the high-temperature use.

We strive to provide our customers with a hassle-free and efficient shopping experience. Our shipping policy ensures the timely delivery of your orders and complete customer satisfaction. View More

We are committed to ensuring your complete satisfaction with every purchase. We understand that circumstances may arise where you must return a product or request a refund. If for any reason you are not satisfied, you may return the item(s) according to the terms outlined below. View More

This Payment Policy outlines the terms and conditions governing all payments made for products purchased through our website. By making a purchase, you agree to be bound by this Payment Policy. View More

Installation Steps

Step1: Disconnect the power and allow the unit to cool completely.

Step2: Remove the access panel using a proper tool.

Step3: Locate and disconnect the old element wiring.

Step4: Unscrew and carefully remove the faulty element.

Step5: Install the new element and secure it firmly.

Step6: Reconnect wiring exactly as before.

Step7: Reattach the panel and restore power.