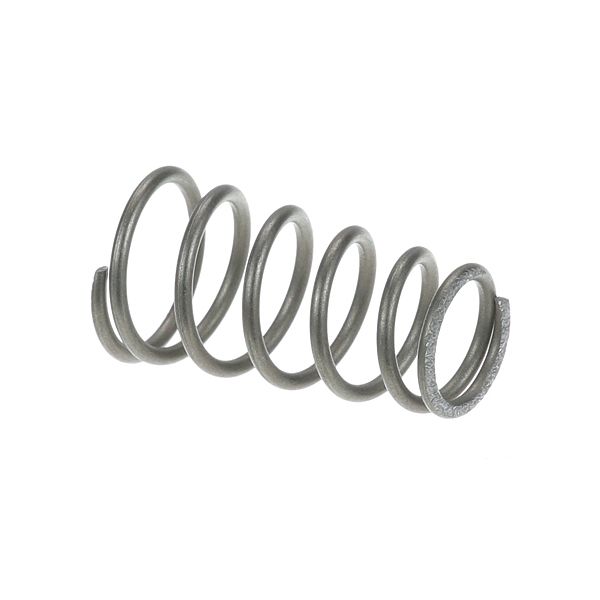
Cecilware X019A Spring

$2.26
In stock
SKU
X019A
Manufacturer:
The Cecilware X019A Spring is a part that is utilized in commercial foodservice equipment to provide tension or return force in moving components. It works by either compressing or stretching when necessary to ensure that the mechanism concerned runs well. The spring is fitted with the appliances where fine action or pressure is necessary, and it helps in the entire operation of levers, valves, or other mechanical systems. In the appliance, it assists in maintaining a smooth operation of the moving components of the equipment and also in maintaining a consistent performance of the equipment.

Dimensions

  • Length: 1.25 In
  • Width: 0.625 In
  • Height: 0.625 In
  • Weight: 0.01 lbs
https://partsfe.com/media/catalog/product/c/e/cecilware-x019a-spring-64866.jpg

Product Notes

  • Tomlinson Faucet Spring For Old Or New Style Faucets.
Write Your Own Review
You're reviewing:Cecilware X019A Spring
Your Rating
Customer Questions
What maintenance is required for the Cecilware X019A Spring?

Regularly inspect the spring for signs of corrosion, stretching, or metal fatigue that could affect tension. Keep the surrounding area clean and dry to prevent rust buildup. Ensure the spring remains properly seated during equipment servicing. Replace the spring immediately if deformation or loss of elasticity is observed.

What are common issues with the Cecilware X019A Spring?

  • Loss of tension causing improper mechanical operation.
  • Metal fatigue leading to spring deformation.
  • Corrosion due to moisture exposure.
  • Spring displacement from its mounting position.

We strive to provide our customers with a hassle-free and efficient shopping experience. Our shipping policy ensures the timely delivery of your orders and complete customer satisfaction. View More

We are committed to ensuring your complete satisfaction with every purchase. We understand that circumstances may arise where you must return a product or request a refund. If for any reason you are not satisfied, you may return the item(s) according to the terms outlined below. View More

This Payment Policy outlines the terms and conditions governing all payments made for products purchased through our website. By making a purchase, you agree to be bound by this Payment Policy. View More

Installation Steps

Step1: Switch off and unplug equipment before starting to avoid electric shock. Ensure power source is fully disconnected.

Step2: Remove access panel or housing carefully using appropriate screwdriver.

Step3: Take out damaged spring using proper tool and note orientation.

Step4: Position new spring in correct alignment, ensuring tension is safe and stable.

Step5: Reassemble unit and test movement slowly to confirm proper operation before use.