
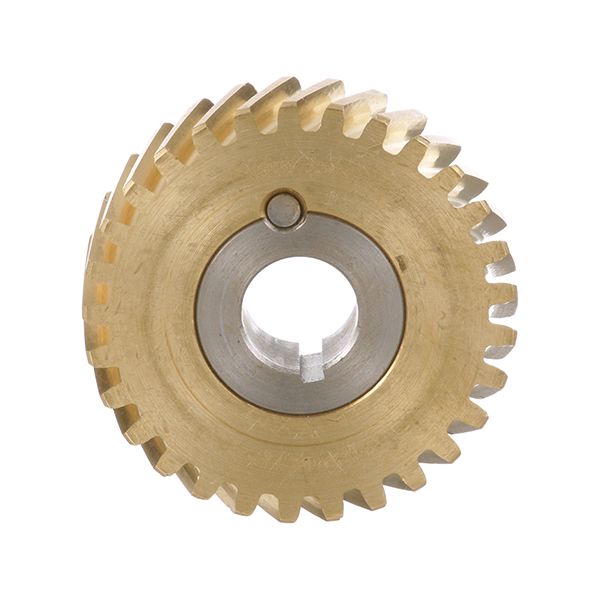
Hobart 00-124751-00003 29-Mixer Stainless Steel Tooth Brass Gear W/ Keyway 2-3/8" DIA
$342.04
In stock
SKU
00-124751-00003
Manufacturer:

This Hobart 00-124751-00003 29 Mixer Stainless Steel Tooth Brass Gear with Keyway 2-3/8” DIA is an essential replacement part. Constructed from durable stainless steel and brass, it guarantees longevity and easy turn. The keyway design enables secure installation, and there is no slippage during the mixing process. This gear is perfect for the commercial kitchen use where it is needed to mix large portions of dough, batter and other foods. It also has a low profile in terms of maintenance hence enhancing the manufacturer’s ability to retrieve higher value in its use to maintain the mixer at its peak performance.
Dimensions
- Length: 2.5 In
- Width: 2.5 In
- Height: 0.75 In
- Weight: 0.8 lbs
Product Notes
- Brass/Ss 29 Tooth Gear, 2-3/8" Dia, 5/8" Hole With Keeway
- Hobart Mixer A120, A200 Transmissions