
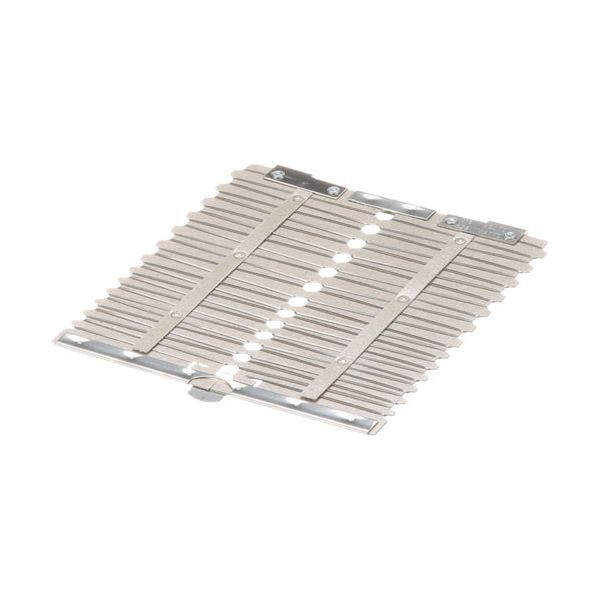
Hobart 00-347356-3 Toaster Element 116V 328W

Special Price $85.51 Regular Price $131.76
In stock
SKU
00-347356-3
Manufacturer:

The Hobart 00-347356-3 Toaster Element 116V 328W produces heat when current is applied to the element resistive coils, which causes the element to heat and cook or toast food. When the current is passed through the resistive substance, the electrical energy converted into thermal energy, and the required heat to toast is generated. It is fitted in compatible toasters and conveyor ovens, where it is attached to the back of the interior of the toast chamber and follows the line of the product. The element heats uniformly along its length to provide a uniform toasting efficiency.

Dimensions

  • Length: 5.5 In
  • Width: 0.5 In
  • Height: 5 In
  • Weight: 0.2 lbs
https://partsfe.com/media/catalog/product/h/o/hobart-00-347356-3-toaster-element-116v-328w-26176-2.jpg

Product Notes

  • Toaster Element, [ 116V 328W 1Ph ] [ 5-1/2" X 5-1/8" ]
  • Hobart Toaster Et 12, 13, 24, 25, 26, 27, Series Ct
GENERAL ELECTRIC:
HOBART:
00-347356-00003, 00-347356-3, 00-352833-00011, 00-352833-11, 347356-3, 352833-11, HOB00-347356-3, HOB00-352833-11, HOB347356-3, HOB352833-11, HOBXNC14X24, XNC14X24, XNC14X24/347356-3
Write Your Own Review
You're reviewing:Hobart 00-347356-3 Toaster Element 116V 328W
Your Rating
Customer Questions
What maintenance is required for the Hobart 00-347356-3 Element?

Inspect the element regularly for carbon buildup and clean gently with a dry brush after disconnecting power. Ensure terminals are tight to prevent arcing. Avoid moisture exposure to prevent electrical damage and maintain consistent heating performance.

What are common issues with the Hobart 00-347356-3 Element?

  • Partial heating due to coil wear or damage.
  • Element burnout causing complete loss of heat.
  • Loose wiring connections causing intermittent operation.
  • Slow heating response from resistance increase over time.

We strive to provide our customers with a hassle-free and efficient shopping experience. Our shipping policy ensures the timely delivery of your orders and complete customer satisfaction. View More

We are committed to ensuring your complete satisfaction with every purchase. We understand that circumstances may arise where you must return a product or request a refund. If for any reason you are not satisfied, you may return the item(s) according to the terms outlined below. View More

This Payment Policy outlines the terms and conditions governing all payments made for products purchased through our website. By making a purchase, you agree to be bound by this Payment Policy. View More

Installation Steps

Step1: Disconnect power supply and unplug unit to avoid electric shock before starting.

Step2: Remove outer casing using proper tool and locate the damaged heating element.

Step3: Carefully disconnect wiring terminals, noting their positions for correct reconnection.

Step4: Replace with the new element and secure all mounting points firmly.

Step5: Reattach wires, ensuring tight connections and no exposed conductors.

Step6: Reassemble casing and test operation.