
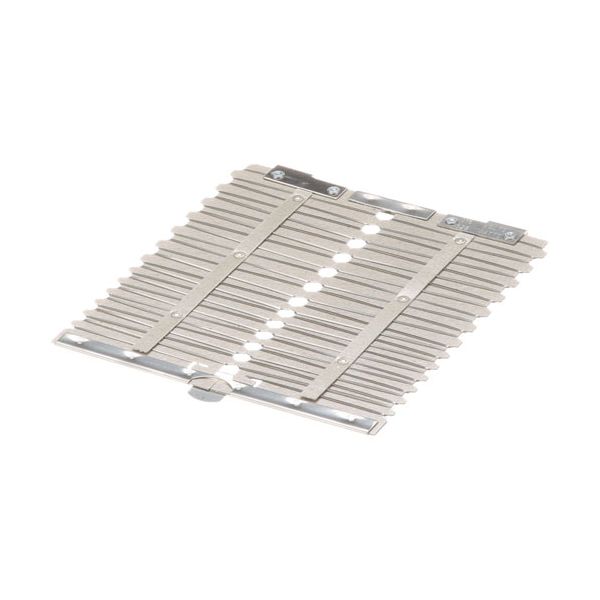
Hobart 00-352833-11 Toaster Element 116V 328W

Special Price $85.51 Regular Price $131.76
In stock
SKU
00-352833-11
Manufacturer:

The Hobart 00-352833-11 Toaster Element is a resistive heating element that is designed to provide consistent thermal performance in commercial assemblies that are compatible. The 116V, 328W element is designed to control the radiant heating equipment. This component is designed to convert electrical power to a steady heat that is needed to produce consistent browning of appliances. It is mounted in the heating section of the toaster, and it operates with thermostats and time clocks to control cooking periods. Service technicians change the element in cases where the heating output is uneven or in cases where it stops, and performance.

Dimensions

  • Length: 5.5 In
  • Width: 0.5 In
  • Height: 5 In
  • Weight: 0.2 lbs
https://partsfe.com/media/catalog/product/h/o/hobart-00-352833-11-toaster-element-116v-328w-33236-2.jpg

Product Notes

  • Toaster Element, [ 116V 328W 1Ph ] [ 5-1/2" X 5-1/8" ]
  • Hobart Toaster Et 12, 13, 24, 25, 26, 27, Series Ct
GENERAL ELECTRIC:
HOBART:
00-347356-00003, 00-347356-3, 00-352833-00011, 00-352833-11, 347356-3, 352833-11, HOB00-347356-3, HOB00-352833-11, HOB347356-3, HOB352833-11, HOBXNC14X24, XNC14X24, XNC14X24/347356-3
Write Your Own Review
You're reviewing:Hobart 00-352833-11 Toaster Element 116V 328W
Your Rating
Customer Questions
What maintenance is required for the Hobart 00-352833-11 Element?

Clean the element regularly to remove crumbs and carbon buildup that can cause overheating. Inspect for physical damage such as coil sagging or discoloration. Ensure tight electrical connections and proper alignment for even heat distribution and secure operation.

What are common issues with the Hobart 00-352833-11 Element?

  • Element burnout leading to total heating failure.
  • Crumb accumulation causing localized overheating.
  • Loose terminals resulting in intermittent power loss.
  • Reduced efficiency and slower heating cycles.

We strive to provide our customers with a hassle-free and efficient shopping experience. Our shipping policy ensures the timely delivery of your orders and complete customer satisfaction. View More

We are committed to ensuring your complete satisfaction with every purchase. We understand that circumstances may arise where you must return a product or request a refund. If for any reason you are not satisfied, you may return the item(s) according to the terms outlined below. View More

This Payment Policy outlines the terms and conditions governing all payments made for products purchased through our website. By making a purchase, you agree to be bound by this Payment Policy. View More

Installation Steps

Step1: Disconnect power to the system and allow the unit to cool completely.

Step2: Remove the outer cover or access panel to expose the heating element assembly.

Step3: Note and label wires before disconnecting the old element leads.

Step4: Disconnect wiring terminals and remove mounting fasteners securing the faulty element.

Step5: Install the new element in the same position and secure it firmly.

Step6: Reconnect wiring to the correct terminals, ensuring tight and clean connections.

Step7: Reassemble the cover, restore power, and test for even heating and proper operation.