Vulcan Hart 00-353613-00002 Oven Temperature Controller Board
Special Price $349.84 Regular Price $548.35
In stock
SKU
00-353613-00002
Manufacturer:

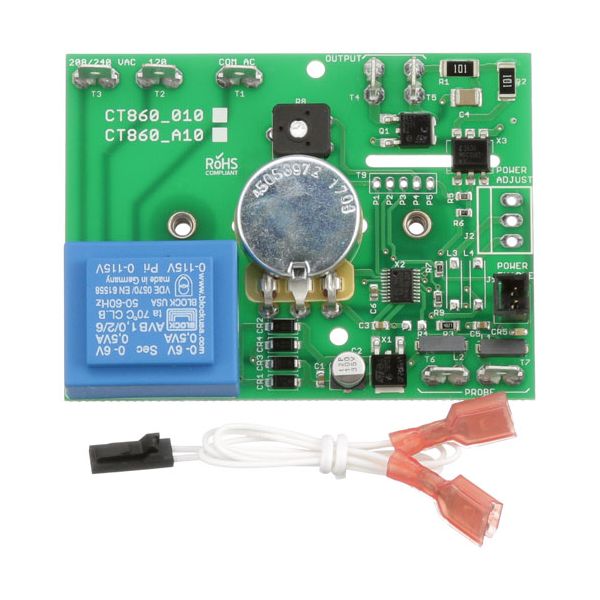
The Vulcan Hart 00-353613-00002 Oven Temperature Controller Board regulates heating by receiving heat input signals from sensors, and processing them through an internal circuit to manage power flow to elements using relay switching and input loop logic. It interprets sensor input continuously, processes variations and adjusts output commands to maintain programmed settings during operation cycles through coordinated electronic signals. It is installed within the compartment typically behind the front panel near the assembly and connects to wiring harnesses, relays and temperature sensors to enable integration with the internal control system.
Dimensions
- Length: 4 In
- Width: 2 In
- Height: 3 In
- Weight: 0.35 lbs
Product Notes
- Temperature Controll Board, W/Wire Harness ( Used On
- Sg4 Units Only ) For Knob Use Ap# 22-1107
- Fits Vulcan Hart Models~
- Dec5, Eco2D, Eco4D, Eco6D, Gco2D, Hec20, Hec5, Hec5X, Hgc20,
- Sg4, Sg44, Sg4C, Sg4D, Sg6, Sg66, Sg6D, Vc3Ed, Vc44Gd,
- Vc4Ec, Vc4Ed, Vc4Es, Vc4Gd, Vc4Gs, Vc6Ec, Vc6Ed, Vc6Es,
- Vc6Gd, Vc6Gs, Vulcan Hart