
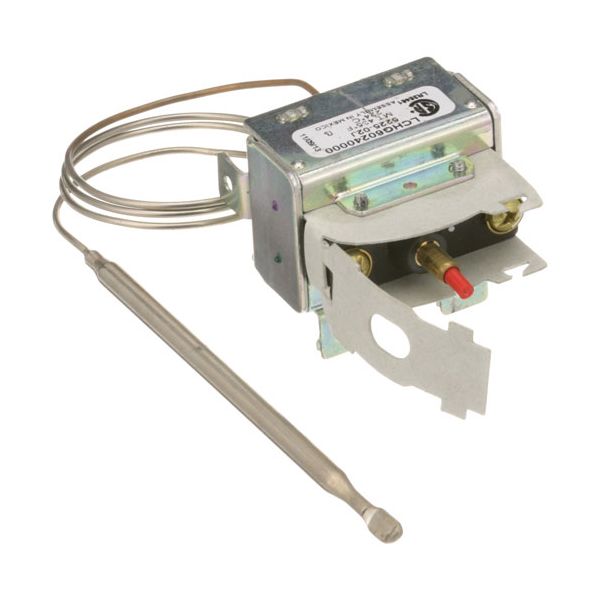
Vulcan Hart 00-416961-000G1 Hi-Limit Thermostat LCH with Manual Reset for Vulcan Fryers

Special Price $135.02 Regular Price $208.04
Out of stock
SKU
00-416961-000G1
Manufacturer:

The Vulcan Hart 00-416961-000G1 High-Limit Thermostat LCH with Manual Reset functions as an advanced temperature control system and safety mechanism for commercial fryers. The essential component functions by automatically shutting off the fryer to prevent overheating because it detects unsafe temperature levels thus protecting both personnel and equipment. The part features a manual reset capability which enables quick restoration operations to minimize equipment downtime. This fryer maintains proper cooking conditions via reliable performance and user-friendly functionality which simultaneously protects all users and the equipment from unsafe high heat exposure.

Dimensions

  • Length: 6.5 In
  • Width: 5 In
  • Height: 3 In
  • Weight: 0.7 lbs
https://partsfe.com/media/catalog/product/v/u/vulcan-hart-00-416961-000g1-hi-limit-thermostat-lch-with-manual-reset-for-vulcan-fryers-76297-2.jpg

Product Notes

  • [ Hi-Limit Type - Lch W/Manual Reset ] [ Temp 435 Fixed ]
  • [ Bulb 1/4" X 4-7/8" Nickel ][ Cap 24" ] [ Brkt 13 ]
  • Vulcan Fryer 2Nd Hi-Limit For Series:
  • Eef-M/Sm, Ref-M/Sm, Spe, Sper.
Write Your Own Review
You're reviewing:Vulcan Hart 00-416961-000G1 Hi-Limit Thermostat LCH with Manual Reset for Vulcan Fryers
Your Rating
Customer Questions
What maintenance is required for the Vulcan Hart 00-416961-000G1 Hi-Limit Thermostat LCH with Manual Reset ?

Regularly inspect the thermostat for grease buildup, loose wiring, and proper sensor placement. Clean terminals carefully and ensure connections remain tight to maintain accurate temperature cut-off. This helps prevent overheating and ensures fryer safety during operation.

What are common issues with the Vulcan Hart 00-416961-000G1 Hi-Limit Thermostat LCH with Manual Reset ?

  • False temperature trips from worn sensor.
  • Failure to reset after high-limit activation.
  • Inconsistent heating due to faulty thermostat contacts.
  • Electrical connection looseness causing intermittent shutdown.
  • Erratic temperature cut-off response.
  • Thermostat calibration drift over time.

We strive to provide our customers with a hassle-free and efficient shopping experience. Our shipping policy ensures the timely delivery of your orders and complete customer satisfaction. View More

We are committed to ensuring your complete satisfaction with every purchase. We understand that circumstances may arise where you must return a product or request a refund. If for any reason you are not satisfied, you may return the item(s) according to the terms outlined below. View More

This Payment Policy outlines the terms and conditions governing all payments made for products purchased through our website. By making a purchase, you agree to be bound by this Payment Policy. View More

Installation Steps

Step1: Turn off fryer power and allow it to cool completely to avoid burns.

Step2: Access the control panel and locate the existing old thermostat.

Step3: Disconnect wiring and carefully remove the old sensing bulb and capillary.

Step4: Install the new thermostat, securing the bulb in the mounting bracket.

Step5: Reconnect wires as per original configuration.

Step6: Reassemble panels and restore power.

Step7: Test operation and ensure manual reset functions properly for safety.