
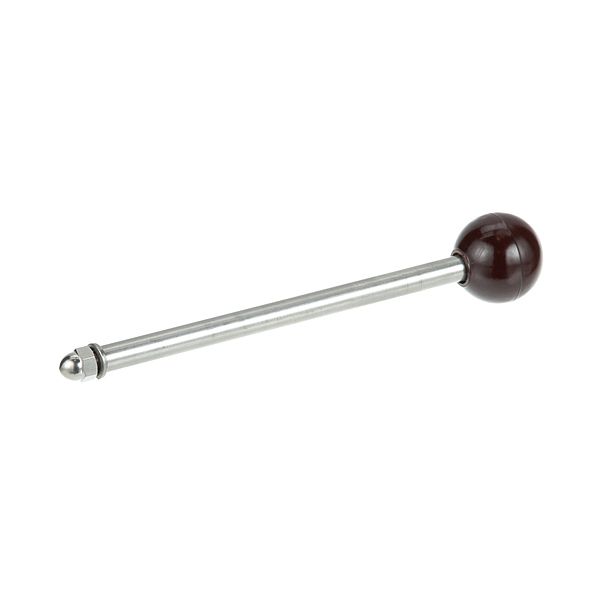
Groen 012694 9-1/2" Handle and Plastic Ball Knob Assembly

Special Price $258.16 Regular Price $445.09
In stock
SKU
012694
Manufacturer:

The Groen 012694 Handle and knob assembly works with different equipment needs. The handle is 9.5 inches long with a plastic ball knob that makes it easy to hold and stay connected. You can use this assembly on furniture like cabinets, drawers, doors, and more in both home places. Built to last, this component connects and works well. The plastic ball knob on the handle feels good to touch and gives you a firm grip, while the handle itself lets you work with more power.

Dimensions

  • Length: 10 In
  • Width: 2 In
  • Height: 2 In
  • Weight: 0.64 lbs
https://partsfe.com/media/catalog/product/g/r/groen-012694-9-1-2-handle-and-plastic-ball-knob-assembly-89594-2.jpg

Product Notes

  • Handle And Ball Knob Assy
  • 9-1/2" Long Overall With Maroon Plastic Ball Knob (221237)
  • W/Cap Screw And Lock Washer
  • Groen Kettle: Td/Fpc, Tdb-20, Tdb-40, Tdc/2, Tdc/3, Tdh-20,
  • Tdh-40, Tdhc-20, Tdhc-40
Write Your Own Review
You're reviewing:Groen 012694 9-1/2" Handle and Plastic Ball Knob Assembly
Your Rating
Customer Questions
What maintenance is required for the Groen 012694 Knob Assembly?

Inspect the handle and knob for cracks, looseness, or wear and tighten mounting hardware regularly. Clean with mild detergent to remove grease and debris that can affect grip. Ensure fittings remain secure to prevent accidental detachment during operation.

What are common issues with the Groen 012694 Knob Assembly?

  • Loose handle mounting hardware causing wobble.
  • Cracked or broken plastic ball knob.
  • Stripped threads or worn mounting insert.
  • Grease buildup leading to reduced grip.
  • Handle misalignment causing stiff operation.
  • Knob looseness during frequent use.

We strive to provide our customers with a hassle-free and efficient shopping experience. Our shipping policy ensures the timely delivery of your orders and complete customer satisfaction. View More

We are committed to ensuring your complete satisfaction with every purchase. We understand that circumstances may arise where you must return a product or request a refund. If for any reason you are not satisfied, you may return the item(s) according to the terms outlined below. View More

This Payment Policy outlines the terms and conditions governing all payments made for products purchased through our website. By making a purchase, you agree to be bound by this Payment Policy. View More

Installation Steps

Step1: Turn off and cool equipment completely, wear gloves.

Step2: Remove existing handle and knob assembly using appropriate screwdriver.

Step3: Align new handle and plastic ball knob assembly with mounting points.

Step4: Insert screws and tighten evenly, avoid over-tightening to avoid cracking.

Step5: Check alignment and secure fit.

Step6: Test operation, ensure knob turns smoothly and is firmly attached before use.

Step7: Ensure power is disconnected during installation to avoid burns or injury.