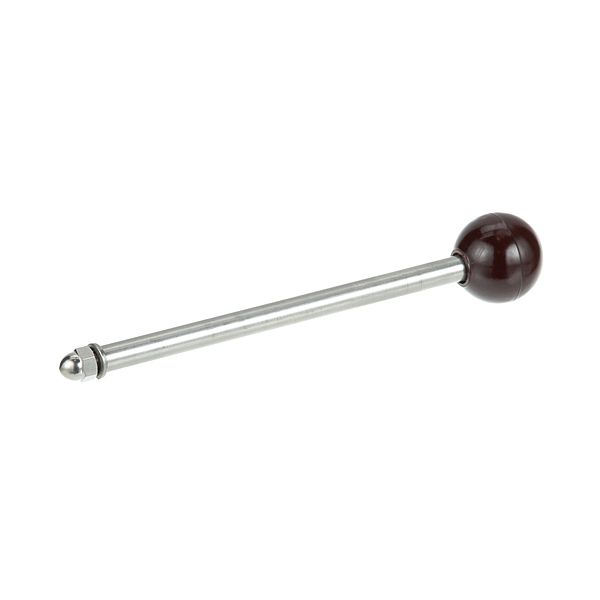
Groen Z012694 9-1/2" Handle and Plastic Ball Knob Assembly
Special Price $258.16 Regular Price $445.09
In stock
SKU
Z012694
Manufacturer:

The Groen Z012694 9-1/2" Handle and Plastic Ball Knob Assembly helps people run and control kitchen equipment. The plastic ball knob on this handle assembly is made of strong plastic and feels good to hold. This handle measures 9-1/2 inches and fits well in your hand, making it easy to use. The assembly helps people control their kitchen appliances better when used with common food preparation tools, such as ovens, fryers, and steamers. The handle and knob assembly helps kitchen tools work well and stay reliable in tough kitchen conditions.
Dimensions
- Length: 10 In
- Width: 2 In
- Height: 2 In
- Weight: 0.64 lbs
Product Notes
- Handle And Ball Knob Assy
- 9-1/2" Long Overall With Maroon Plastic Ball Knob (221237)
- W/Cap Screw And Lock Washer
- Groen Kettle: Td/Fpc, Tdb-20, Tdb-40, Tdc/2, Tdc/3, Tdh-20,
- Tdh-40, Tdhc-20, Tdhc-40