Cleveland 07108 Steam Generator Water Gauge Gasket Fiber

$0.50
In stock
SKU
07108
Plumbing Parts, Washers,
Manufacturer:
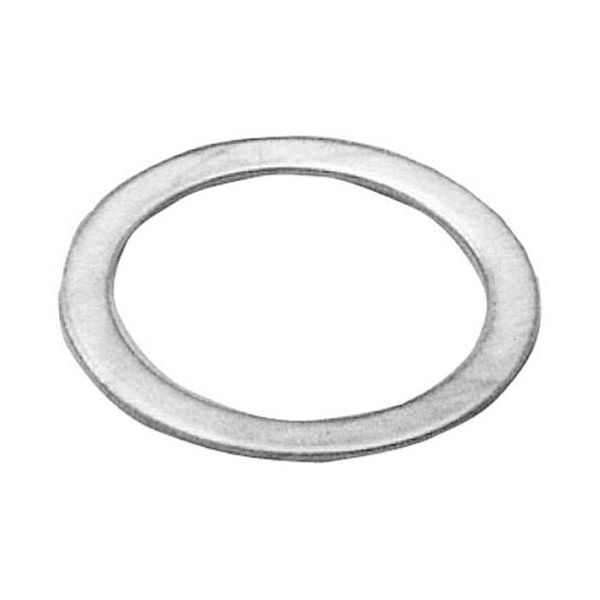
The Cleveland 07108 Convection Steamer Water Gauge Gasket Fiber is a tight-fitting seal that fits around the water sensor and ensures that no moisture leaks out of it and that the correct amount of liquid is held in the unit. It is also a better fit in the meter assembly, and there is always contact between the display and the interior of the tank. It is made of fiber, which enables it to conform to the surface so that it can be placed effectively.

Dimensions

  • Length: 1 In
  • Width: 1 In
  • Height: 0.1 In
  • Weight: 0.1 lbs
https://partsfe.com/media/catalog/product/c/l/cleveland-07108-brass-washer-41154-2.jpg

Product Notes

  • Glass Gauge Brass Washer, 7/8" Od, 5/8" Id.
  • Cleveland Gas & Electric Steam Generators
  • Groen Boiler Ngb
  • Market Forge Boiler
BLODGETT:
CLEVELAND:
CROWN STEAM:
MARKET FORGE:
SOUTHBEND:
Write Your Own Review
You're reviewing:Cleveland 07108 Steam Generator Water Gauge Gasket Fiber
Your Rating
Customer Questions
What maintenance is required for the Cleveland 07108 Brass Washer ?

Inspect the brass washer regularly for damage, corrosion, or deformation. Clean it to remove debris and ensure proper sealing during use. Replace it if it becomes flattened, and avoid overtightening to maintain safe, leak-free performance.

What are common issues with the Cleveland 07108 Brass Washer ?

  • Leakage due to worn or flattened washer surface.
  • Corrosion or rust from moisture exposure over time.
  • Improper sealing causing pressure loss during operation.
  • Cracking or deformation under excessive tightening force.

We strive to provide our customers with a hassle-free and efficient shopping experience. Our shipping policy ensures the timely delivery of your orders and complete customer satisfaction. View More

We are committed to ensuring your complete satisfaction with every purchase. We understand that circumstances may arise where you must return a product or request a refund. If for any reason you are not satisfied, you may return the item(s) according to the terms outlined below. View More

This Payment Policy outlines the terms and conditions governing all payments made for products purchased through our website. By making a purchase, you agree to be bound by this Payment Policy. View More

Installation Steps

Step1: Turn off equipment and relieve internal pressure before starting installation.

Step2: Remove old washer and thoroughly clean seating surface.

Step3: Inspect fitting and ensure compatibility of the washer.

Step4: Place new washer correctly, align evenly, and hand-tighten assembly securely.

Step5: Restore pressure slowly, check carefully for leaks, and tighten if needed.