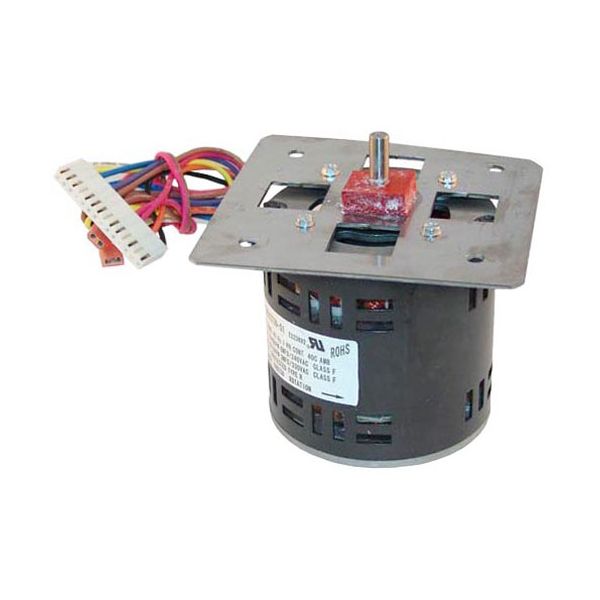
Groen 096740 1/15 HP Motor Assembly W/ Red Sponge Gasket
Special Price $505.49 Regular Price $933.50
In stock
SKU
096740
Manufacturer:

The Groen 096740 1/15 HP Motor Assembly with Red Sponge Gasket is a reliable and efficient component designed for cooking equipment. This motor assembly ensures smooth, consistent operation of your appliances in demanding environments, and provides high performance. Red sponge gasket included for increased sealing and protection, along with a 1/15 horsepower motor. It is intended for use in Groen cooking equipment and helps keep things operating optimally and decreases maintenance demands. This motor assembly increases motor life and decreases downtime, making it a great addition to any commercial kitchen.
Dimensions
- Length: 5.5 In
- Width: 5.5 In
- Height: 5.5 In
- Weight: 5.25 lbs
Product Notes
- Motor Assy Hy3 & Hy6, Comes With Red Sponge Gasket On Shaft
- 1/15 Hp, 115/230V ,3340 RPM/3310 RPM
- It Is Recommended To Replace The Foil Capacitor When
- Replacing This Motor.
- Use # 38-1561 Capacitor (6 Mfd) For Models Hy6G, Hy6Sg/M
- Use # 38-1562 Capacitor (3 Mfd) For Hy3E/G, Hy5E, Hy6E,
- Hy6Se
- Red Sponge Gasket Only # 32-1329
- Apply Food Grade Grease, Our # 85-1098
- For Blower Wheel Use # 26-2180.
- Groen Steamers