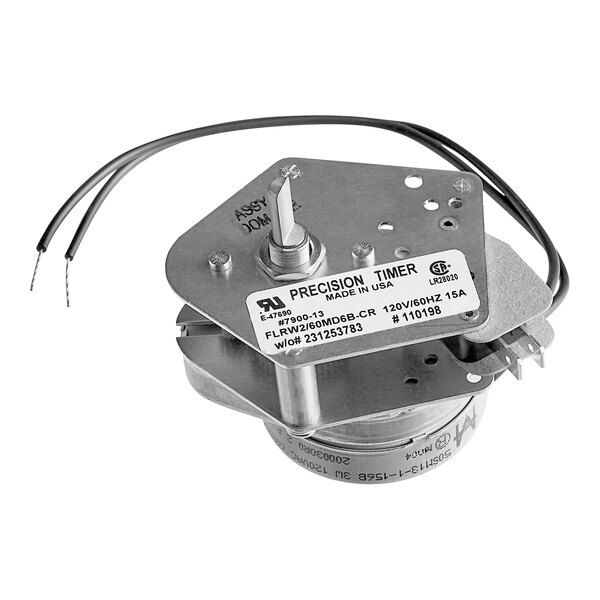
Cleveland 110198 60 Min Timer 120V
Special Price $164.56 Regular Price $224.93
In stock
SKU
110198
Manufacturer:

The Cleveland 110198 Timer 60-minute, 120V mechanical timer for accurate time control. It works by just adjusting the knob to the required time and gives a better count down for up to an hour. This timer is perfect when cooking, baking or doing any chore, which involves time sections so that one is not over extending the time needed. Its design, durability and time-keeping ability makes it a vital equipment in many kitchens that are always busy. Some benefits include; increased productivity, less chances of making mistakes, and quality food output.
Dimensions
- Length: 3.375 In
- Width: 1.75 In
- Height: 2.5 In
- Weight: 0.7 lbs
Product Notes
- Timer, 60 Min, 120V,
- For Indicator Knob Use # 22-1467
- Cleveland Steamer Model D, 22Cet3A