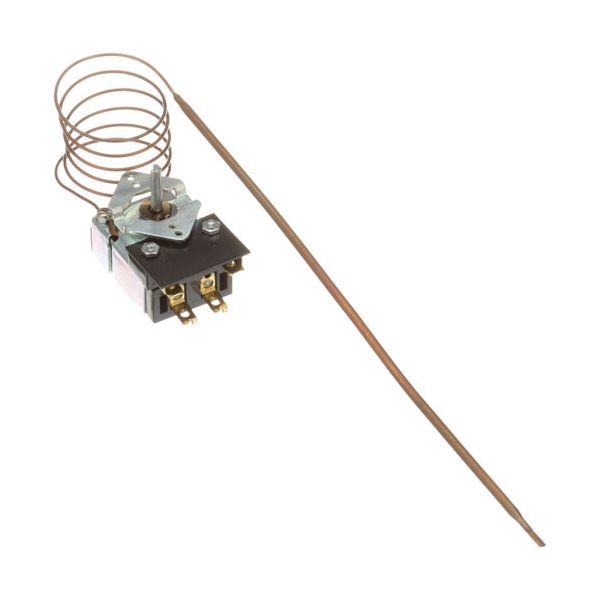
APW 14794-36 Thermostat SJ 3/16" x 11-5/8" CAP 36'' 100-450°F

Special Price $92.39 Regular Price $182.10
In stock
SKU
14794-36
The APW 14794-36 Thermostat SJ 3/16" x 11-5/8" Cap 36' 100-450°F is a thermostat that measures the temperature and switches on the heating component to maintain a preset range. It works between 100 and 450 degrees Fahrenheit and it switches on and off to create the required cooking atmosphere. This is intended to be installed on the commercial kitchen equipment, where the capillary tube and sensing bulb detect the conditions inside the appliance and maintain a constant operation during the cooking or warming process.

Dimensions

  • Length: 12.375 In
  • Width: 2.75 In
  • Height: 2 In
  • Weight: 0.5 lbs
https://partsfe.com/media/catalog/product/a/p/apw-14794-36-thermostat-sj-3-16-x-11-5-8-cap-36-100-450f-80783-2.jpg

Product Notes

  • Thermostat, [ Type- Sj ] [ Temp 100-450 F ] 30Amp
  • [ Bulb 3/16" X 11-5/8" ] [ Cap 36" ] Mount 1,
  • [Gen Use Dial # 22-1004 Off-450-100 ]
  • Knob For Apw Griddle Grey Pointer # 22-1491
  • Apw Wyott Griddle Model Eg- 24,36, Eg2436, Eg2448,
  • Eg-Xx, Eg-Xxh
  • Wells Dial # 22-1181, Grey & Silver T'Stat
  • Knob "Wells" [ 2-3/8" Dia ] [ Off-450-200] [Mount .187" ]
  • [Flat Down ]
  • Wells Grill G13, G15, G19, G23, G24, G60, G136,
  • G156, G196, G236, G246, G606, Jg236, Jg606.
BLOOMFIELD:
METAL MASTERS:
U-LINE:
Write Your Own Review
You're reviewing:APW 14794-36 Thermostat SJ 3/16" x 11-5/8" CAP 36'' 100-450°F
Your Rating
Customer Questions
What maintenance is required for the APW 14794-36 Thermostat?

Periodically inspect the thermostat capillary tube and sensing bulb for kinks, damage, or loose mounting. Verify temperature settings and calibration to ensure accurate heat control. Keep electrical connections clean and secure, and disconnect power before performing any inspection or service work.

What are the common issues with the APW 14794-36 Thermostat?

  • Temperature control drifting.
  • Heating cycles becoming inconsistent.
  • Bulb sensing inaccurate.
  • Capillary damage occurring.
  • Dial response becoming stiff.

We strive to provide our customers with a hassle-free and efficient shopping experience. Our shipping policy ensures the timely delivery of your orders and complete customer satisfaction. View More

We are committed to ensuring your complete satisfaction with every purchase. We understand that circumstances may arise where you must return a product or request a refund. If for any reason you are not satisfied, you may return the item(s) according to the terms outlined below. View More

This Payment Policy outlines the terms and conditions governing all payments made for products purchased through our website. By making a purchase, you agree to be bound by this Payment Policy. View More

Installation Steps

Step1: Turn off electrical power at breaker and check circuit is de-energized for safety.

Step2: Mount thermostat body securely on panel using provided hardware in a stable location.

Step3: safely route capillary tube without kinks, avoiding hot surfaces or sharp bends.

Step4: Connect electrical terminals according to wiring diagram, ensuring tight, correct polarity connections.

Step5: Set desired temperature range and restore power, then test operation for proper cycling and safety.