Savory 18026 Heating Element 13-1/4" 300W 104V

$18.92
In stock
SKU
18026
Manufacturer:
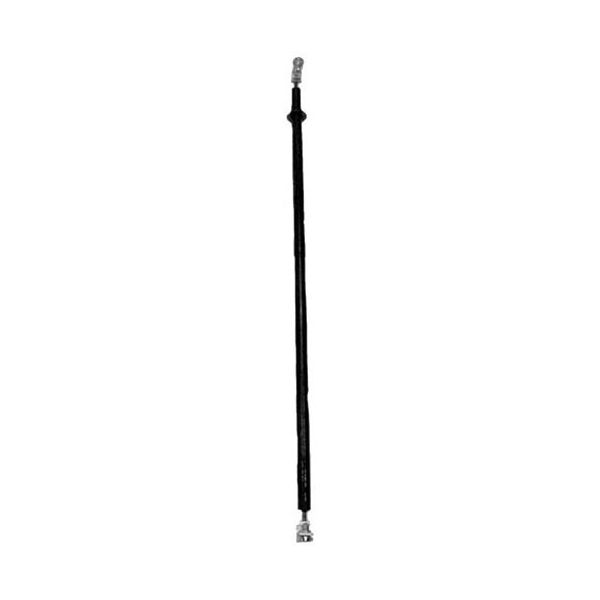
The Savory 18026 Heating Element 13-1/4" 300W 104V is an electric heating part that may be applied in commercial cooking or warming equipment. The resistive element 13 -1/4" is heat-generating and the flag-shaped screw terminals allow the connection to the electrical wiring in the unit to be safe. Its thermal system has been developed to manage the heat production, and may be utilized alongside the thermostats or controls to save the set temperatures and assist in maintaining the performance in foodservice.

Dimensions

  • Length: 13 In
  • Width: 0.5 In
  • Height: 0.5 In
  • Weight: 0.28 lbs
https://partsfe.com/media/catalog/product/s/a/savory-18026-toaster-element-w-flag-screw-terminals-13-1-4-end-to-end_1.jpg

Product Notes

  • 104V 300W 1Ph 13-1/4" End To End
  • Terminals {Flag W/Screw } 10-32
  • For Screw Only Use # 26-2345
  • Savory
  • Toaster Top Element For S/N Rt0019224 & Up: Rt-2Vs
  • (208V Units Only).
  • *Bottom Element = #34-1432
More Information
Disable SaleableNo
LINCOLN:
SAVORY:
Write Your Own Review
You're reviewing:Savory 18026 Heating Element 13-1/4" 300W 104V
Your Rating
Customer Questions
What maintenance is required for the Savory 18026 Element?

Check the element for signs of wear or oxidation. Ensure terminals are tightly secured and free of corrosion. Avoid touching the element when hot. Regular maintenance provides even baking, secure operation, and reduces the risk of electrical issues.

What are common issues with the Savory 18026 Element?

  • Uneven baking due to hot spots.
  • Burnt or broken element wires.
  • Loose or corroded terminal connections.
  • Short-circuiting or tripping breakers.
  • Element failing to heat consistently.

We strive to provide our customers with a hassle-free and efficient shopping experience. Our shipping policy ensures the timely delivery of your orders and complete customer satisfaction. View More

We are committed to ensuring your complete satisfaction with every purchase. We understand that circumstances may arise where you must return a product or request a refund. If for any reason you are not satisfied, you may return the item(s) according to the terms outlined below. View More

This Payment Policy outlines the terms and conditions governing all payments made for products purchased through our website. By making a purchase, you agree to be bound by this Payment Policy. View More

Installation Steps

Step1: Turn off and unplug the appliance before starting.

Step2: Remove the appliance outer casing to access the heating element.

Step3: Disconnect any wiring connected to the old element carefully.

Step4: Remove the old element from its mounting brackets.

Step5: Install the new element, reconnecting wires to the correct terminals.

Step6: Secure the element and replace the casing.

Step7: Plug in the appliance and test to ensure the element heats properly.