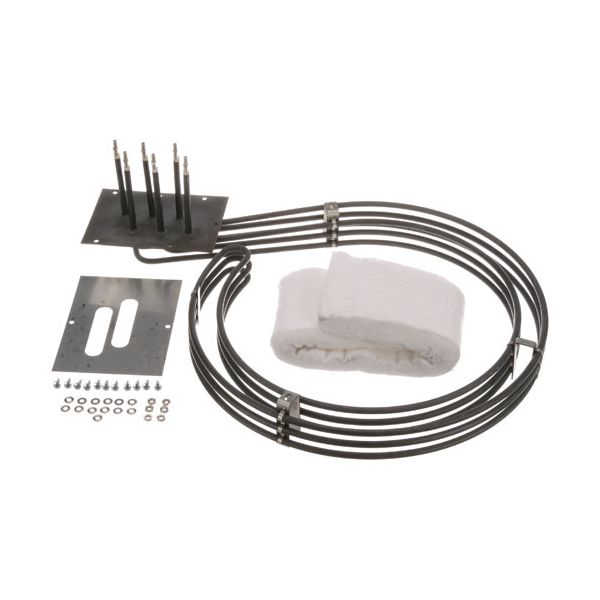
Blodgett 20321 Oven Element Assembly 1-3PH W/ Screw Terminals 12"x22"
Special Price $310.97 Regular Price $623.45
In stock
SKU
20321
Manufacturer:

The Blodgett 20321 Element Assembly 1-3PH W/ Screw Terminals 12"x22" is an essential part of commercial ovens. The specific model may have one or three heating elements in this assembly which generates the heat needed for cooking. In general, it has solder terminals on an easily connected style and is designed to endure the high temperatures found in commercial oven use. With a 12"x22" size, the heating surface area is large, and the oven chamber is well heated up and evenly heated up.
Dimensions
- Length: 23 In
- Width: 16 In
- Height: 6 In
- Weight: 5.6 lbs
Product Notes
- [ 240V 10000W 1-3Ph ] [ 12" X 22" ]
- [Terminals {Screw 10-32 }
- Blodgett Model Mark V, Zephaire E,
- Shi-E, Sho