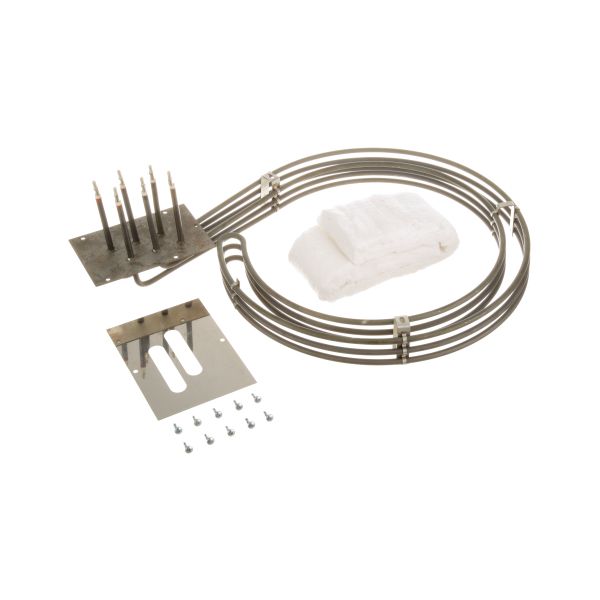
Blodgett 33244 1-3PH Oven Element Assembly W/ Screw Terminals, 12"x22"
Special Price $310.97 Regular Price $623.45
In stock
SKU
33244
Manufacturer:

The Blodgett 33244 Oven Heating Element Assembly transforms electrical energy into heat, enabling the oven to achieve and sustain the required cooking temperature. It provides even heat distribution in the oven cavity which provides the maintenance of consistency in baking and roasting activities. This is installed in commercial oven units where it is mounted in the bottom or back part and serves as the major source of heat needed to carry out successful and controlled cooking process.
Dimensions
- Length: 23 In
- Width: 16 In
- Height: 9 In
- Weight: 1 lbs