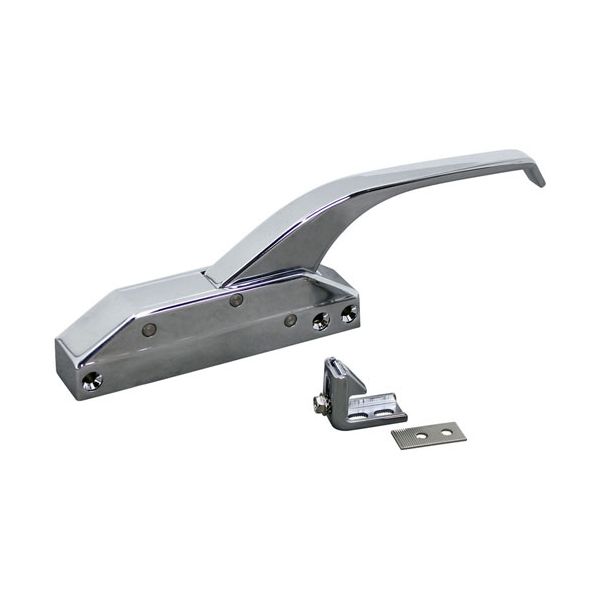
Standard Keil 2830-4210-1110 Oven Latch W/ Strike w/o Lock Offset Handle 10-1/4"X1-1/4"
Special Price $40.89 Regular Price $53.10
In stock
SKU
2830-4210-1110
Manufacturer:

The Standard Keil 2830-4210-1110 Latch with Strike is a reliable and durable hardware solution designed to secure oven doors, drawers, and other openings in a variety of applications. This is a latch that is 10-1/4" x 1-1/4" in size and will provide a tight seal, preventing heat loss and improving cooking efficiency. It is easy to install, simple, and user Interface and is ideal for replacement or new oven setup. It features a durable construction capable of standing in high temperatures for a long lifetime. It is a better choice for residential and improved ovens due to its practical design.
Dimensions
- Length: 10.5 In
- Width: 1.5 In
- Height: 3 In
- Weight: 1.64 lbs
Product Notes
- Mechanical Latch W/ Strike
- Offset Handle, No Lock
- Length 10-1/4"
- Width 1-1/4"
- Inside Screw Centers 4-5/8"
- Outside Screw Centers 5-1/4"
- Base To Top Of Handle 2-7/8"
- For Latch/Strike And Lock Use # 22-1098
- For Series: 2830, 59-1105, C8765, 9176, 9177, R35