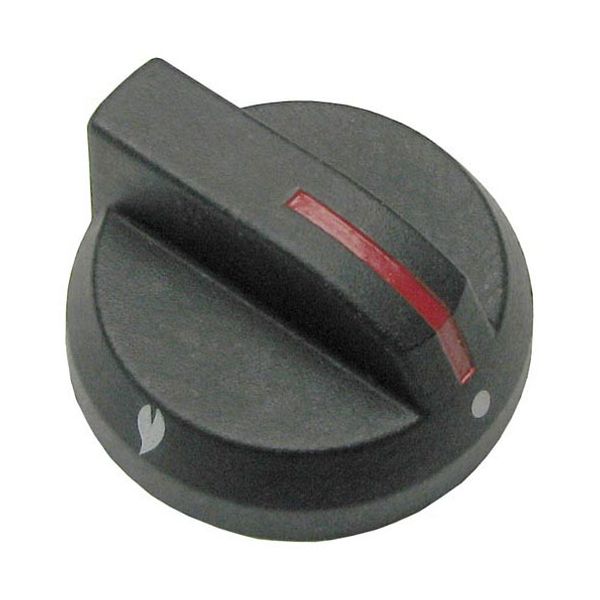
Magikitch'N 350100416 Burner Valve Pointer Knob 2-1/2" DIA, Mount .240"

$18.58
In stock
SKU
350100416
Manufacturer:
The Magikitch'N 350100416 Burner Valve Pointer Knob 2-1/2 inches DIA Mount .240 inches rotates the control shaft to change the burner valve setting by moving the internal mechanism as it turns. As the knob is rotated, the pointer shows the chosen point on the control scale as the mount clamps the shaft. It is attached to the front panel of compatible cooking devices where the control shaft sticks out, and the pointer is in a way that it points to marked settings to be viewed. The diameter gives a manual adjustment and easy indication of the position of the selected valve.

Dimensions

  • Length: 2.5 In
  • Width: 2.5 In
  • Height: 1.25 In
  • Weight: 0.1 lbs
https://partsfe.com/media/catalog/product/m/a/magikitch-n-350100416-burner-valve-pointer-knob-2-1-2-dia-mount-240-24616-2.jpg

Product Notes

  • Black Burner Valve Knob W/ Red Line
  • [ 2-1/2" Dia ] [ Pointer] [Mount .240"] [Flat Down]
  • Magikitch'N
  • Broiler Series: Dmc, Fm-Rmb, Fm-Smb, Rmb,
  • Rmb-Apm, Smb, Smb-Apm.
Write Your Own Review
You're reviewing:Magikitch'N 350100416 Burner Valve Pointer Knob 2-1/2" DIA, Mount .240"
Your Rating
Customer Questions
What maintenance is required for the Magikitch'N Burner Valve Pointer Knob?

Keep the knob clean by wiping grease and debris regularly to ensure smooth operation. Inspect the mounting for looseness and tighten if needed. Proper maintenance ensures accurate valve control and prevents operational hazards.

What are common issues with the Magikitch'N Burner Valve Pointer Knob?

  • Knob becomes stiff due to grease buildup affecting smooth rotation.
  • Pointer misalignment causes inaccurate valve position reading.
  • Mounting loosens over time leading to unstable control.
  • Cracks or damage on knob reduce usability and grip.

We strive to provide our customers with a hassle-free and efficient shopping experience. Our shipping policy ensures the timely delivery of your orders and complete customer satisfaction. View More

We are committed to ensuring your complete satisfaction with every purchase. We understand that circumstances may arise where you must return a product or request a refund. If for any reason you are not satisfied, you may return the item(s) according to the terms outlined below. View More

This Payment Policy outlines the terms and conditions governing all payments made for products purchased through our website. By making a purchase, you agree to be bound by this Payment Policy. View More

Installation Steps

Step1: Shut off gas supply and check all controls are in the off position

Step2: Allow the unit to cool and damage gloves for safe handling

Step3: Gently remove the existing knob from the valve shaft

Step4: Check the shaft for alignment and clean if needed

Step5: Fit the new knob onto the shaft matching the flat side

Step6: Press firmly until seated and test rotation after restoring gas