
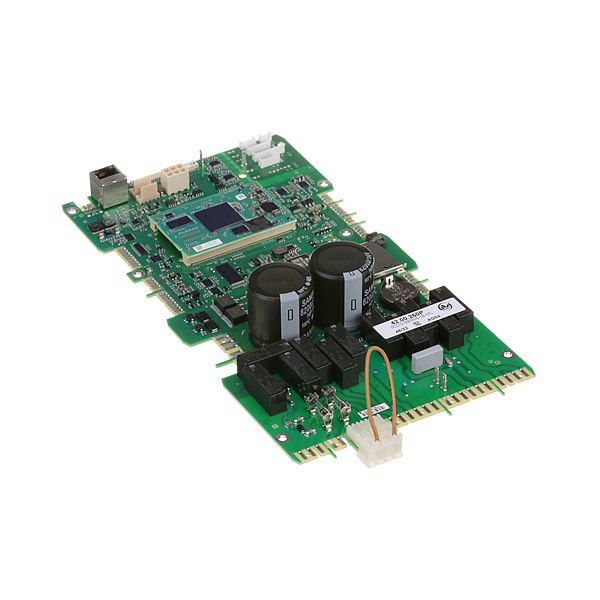
Rational 42.00.260P Control Board Sicotronic SCC_WE61-202
Special Price $1,701.54 Regular Price $2,262.95
In stock
SKU
42.00.260P
Manufacturer:

The Rational 42.00.260P PCB Control is the main electronic control board in the commercial appliance, and controls and coordinates all the operations. It operates by accepting input to user interfaces, sensors and timers and transmitting signals to heating components, fans, motors, and other parts to follow cooking programs. The PCB is fitted in compatible Rational combi ovens, which are usually fitted in the control compartment at the back of the front panel. It is a key component of temperature control, airflow, timing and system safety that ensures accurate and synchronized operation.
Dimensions
- Length: 9 In
- Width: 17.75 In
- Height: 2.75 In
- Weight: 2.1 lbs