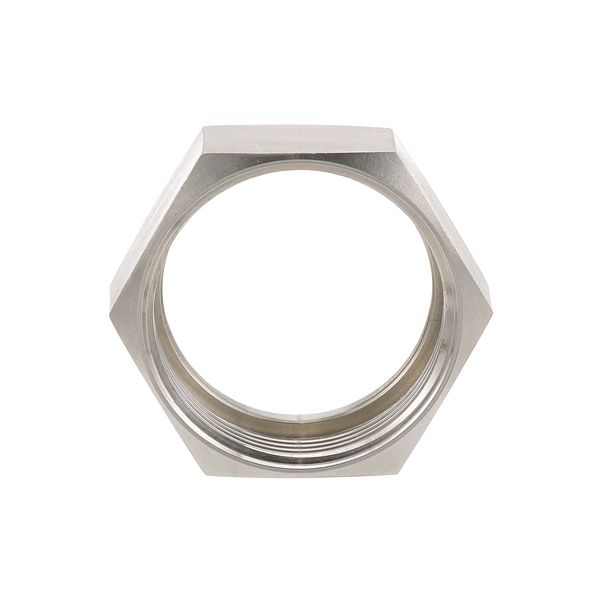
Crown Steam 4216-1 Hex Nut

Special Price $62.56 Regular Price $106.04
In stock
SKU
4216-1
The Crown Steam 4216-1 Hex Nut 2" Draw-Off Valve Stainless Steel provides a tight fitting of the valve assembly and seals the valve assembly to ensure that there is no leakage between the valve components. This hex nut is typically fitted into the draw-off valve assembly of steam kettles, and similar equipment providing a secure connection between the valve body and the attached parts. It is made of stainless steel and is designed for use in commercial kitchen applications.

Dimensions

  • Length: 3 In
  • Width: 3 In
  • Height: 3 In
  • Weight: 0.535 lbs
https://partsfe.com/media/catalog/product/c/r/crown-steam-4216-1-hex-nut_1.jpg

Product Notes

  • Ss Hex Nut For 2" Valve Body On 2" Draw-Off Valve
  • Kettles
BLODGETT:
CROWN STEAM:
GARLAND:
LEGION:
MARKET FORGE:
SOUTHBEND:
VULCAN HART:
Write Your Own Review
You're reviewing:Crown Steam 4216-1 Hex Nut
Your Rating
Customer Questions
What maintenance is required for the Crown Steam 4216-1 Hex Nut?

Check the hex nut for tightness and signs of corrosion. Clean threads to prevent buildup and ensure proper fastening. Retighten as needed to maintain secure connections and stable operation of equipment.

What are the common issues with the Crown Steam 4216-1 Hex Nut?

  • Loosening during operation or vibration.
  • Thread stripping or damage.
  • Corrosion affects the strength and fit.
  • Misalignment is causing improper fastening.
  • Difficulty securing due to cross-threading.
  • Nuts loosen under repeated thermal expansion or heavy use.

We strive to provide our customers with a hassle-free and efficient shopping experience. Our shipping policy ensures the timely delivery of your orders and complete customer satisfaction. View More

We are committed to ensuring your complete satisfaction with every purchase. We understand that circumstances may arise where you must return a product or request a refund. If for any reason you are not satisfied, you may return the item(s) according to the terms outlined below. View More

This Payment Policy outlines the terms and conditions governing all payments made for products purchased through our website. By making a purchase, you agree to be bound by this Payment Policy. View More

Installation Steps

Step1: Identify the bolt or threaded component where the hex nut will be installed.

Step2: Align the hex nut with the bolt threads, ensuring proper orientation.

Step3: Rotate the nut clockwise by hand until snug against the surface.

Step4: Use a wrench to tighten the nut securely without over-torquing.

Step5: Verify the nut is fully seated and holds the components firmly in place.

Step6: Check the assembly for stability before using the appliance or system.