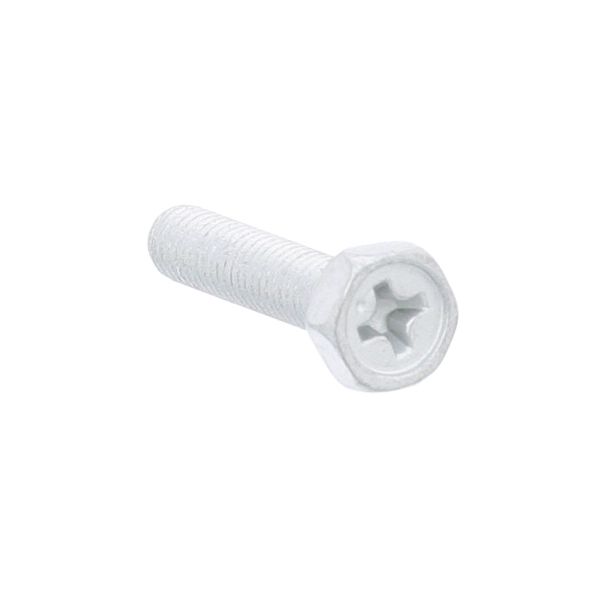
Hoshizaki 4A3871-01 Ice Machine Pump Motor Screw 4 X 20

$2.98
In stock
SKU
4A3871-01
The Hoshizaki 4A3871-01 Ice Machine Pump Motor Screw is used to securely fix the pump motor to the mounting surface, and it is of 4 x 20 mm size and is coated with Geomet, which is used to prevent corrosion. The screw is then tightened and the threaded shaft of the screw connects with the threaded hole in the motor housing or bracket and draws the parts together, holding the motor in place. When fitted it will keep the pump motor stationary to ensure that it runs correctly without bouncing under load.

Dimensions

  • Length: 1 In
  • Width: 1 In
  • Height: 1 In
  • Weight: 1 lbs
https://partsfe.com/media/catalog/product/h/o/hoshizaki-4a3871-01-screw-4x20-geomet-87980-2.jpg
Write Your Own Review
You're reviewing:Hoshizaki 4A3871-01 Ice Machine Pump Motor Screw 4 X 20
Your Rating
Customer Questions
What maintenance is required for the Hoshizaki 4A3871-01 Screw?

Inspect the screw regularly for corrosion, stripping, or loosening. Ensure it remains properly tightened without over-torquing to avoid damage. Clean threads if debris is present. Proper maintenance assists maintain secure fastening and prevents component misalignment or failure.

What are common issues with the Hoshizaki 4A3871-01 Screw?

  • Stripped or damaged threads.
  • Loosening due to vibration.
  • Corrosion affecting durability.
  • Difficulty tightening or removal.
  • Head damage reducing tool grip.
  • Improper fit causing instability.

We strive to provide our customers with a hassle-free and efficient shopping experience. Our shipping policy ensures the timely delivery of your orders and complete customer satisfaction. View More

We are committed to ensuring your complete satisfaction with every purchase. We understand that circumstances may arise where you must return a product or request a refund. If for any reason you are not satisfied, you may return the item(s) according to the terms outlined below. View More

This Payment Policy outlines the terms and conditions governing all payments made for products purchased through our website. By making a purchase, you agree to be bound by this Payment Policy. View More

Installation Steps

Step1: Ensure equipment is powered off and identify the correct mounting point.

Step2: Align the screw with the fastening hole.

Step3: Use a compatible screwdriver to insert and turn clockwise steadily.

Step4: Tighten securely without over-tightening to avoid thread damage or stripping.

Step5: Wear gloves inspect alignment and ensure screw is firmly seated before operation.

Step6: Do not use excessive force replace if corrosion or wear is visible.