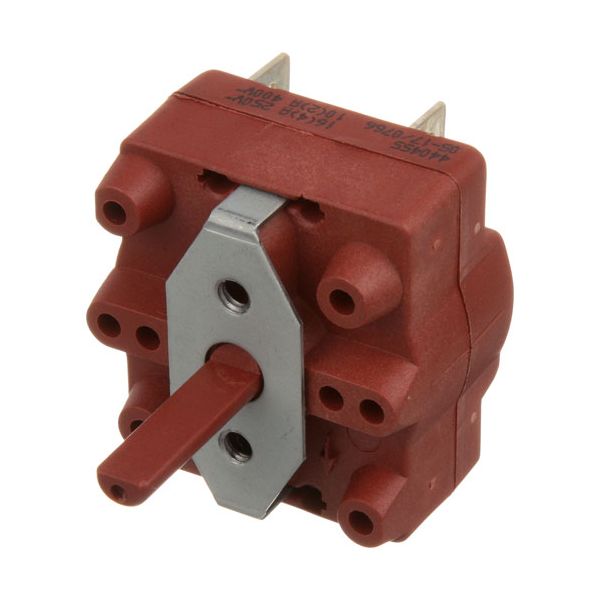
Duke 600541 Oven 3-position Rotary Switch W/6 Term D Stem 20A 120-240V
Special Price $175.56 Regular Price $346.00
In stock
SKU
600541
Manufacturer:

The Duke 600541 3-position Rotary Switch W/6 Term D Stem & 0.150" Flat Down 20A 120-240V is an electrical control components designed for use in commercial oven systems. It features a three-position rotary configuration with six terminals and operates The switch is used to control specific oven operations such as heating modes or power settings through manual position selection. Commonly installed in restaurants and cooking equipment, it serves as part of the appliance’s control system, enabling operators to the manage electrical circuits required for oven operations.
Dimensions
- Length: 2.125 In
- Width: 2 In
- Height: 1.625 In
- Weight: 0.13 lbs
Product Notes
- Rotary Switch, 3 Heat, 20A-120-240V, 6 Term,
- D Stem .150" Flat Down
- For Pointer Knob Use # 22-1106
- Duke 6/13 Oven E Series
- Tomlinson Glenray Kettle Use Knob # 22-1291