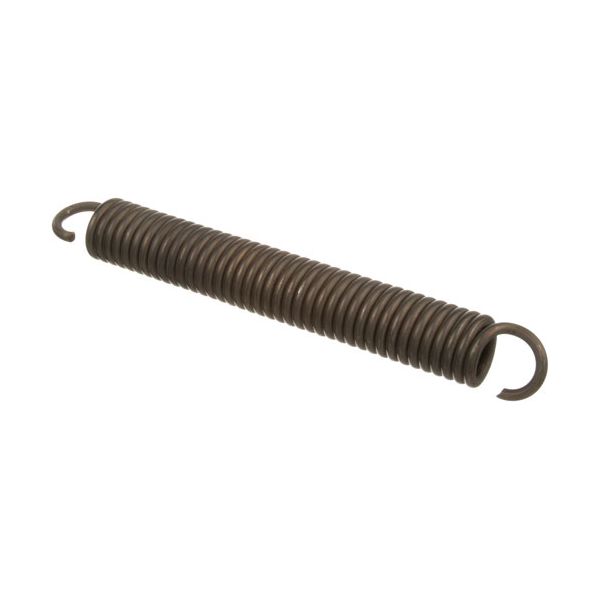
Hobart 718361 Door Spring 5-3/8" Body 27/32" DIA 7"L
Special Price $56.18 Regular Price $72.96
In stock
SKU
718361
Manufacturer:

The Hobart 718361 Door Spring 5-3/8" Body 27/32" DIA 7" L works by creating tension to support the opening and closing of equipment doors through its coiled mechanism to regulate the movement. It stores and discharges energy when the door swings, which assists in ensuring a movement in the entire range. This is 5-3/8" long and has a body diameter of 27/32" and is installed inside the door assembly, where it is connected to hinge points to control the operation of the gate in commercial kitchens or industrial equipment.
Dimensions
- Length: 7 In
- Width: 1 In
- Height: 7 In
- Weight: 0.5 lbs
Product Notes
- Door Spring,
- 7" Overall Length, 5-3/8" Body, 27/32" Dia.
- Wolf Oven A, Afs, Ak-Ae, Caf, Ch. Kafs, Kcaf