
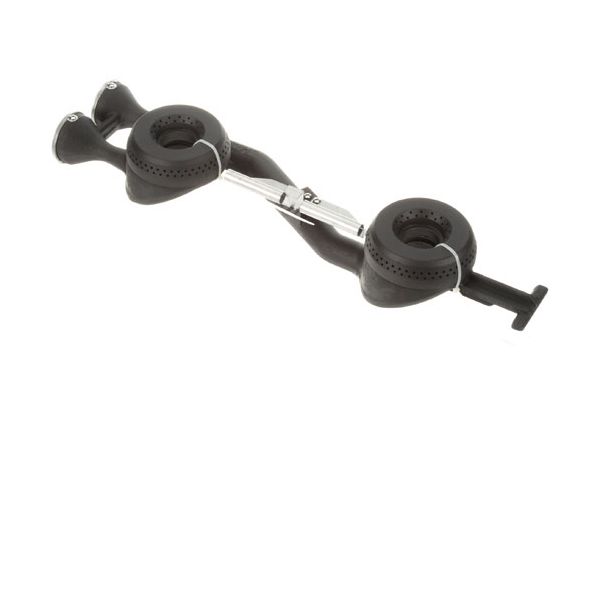
Vulcan Hart 763209-000A1 New Chall Assembly Venturi Kit and Front and Rear Burner

Special Price $131.94 Regular Price $203.29
In stock
SKU
763209-000A1
The Vulcan Hart 763209-000A1 New Chall Assembly Venturi Kit with Front and Rear Burners is a high-quality part for the Vulcan Hart brand of cooking appliances. These assemblies maintain the flow of the gas, and the steadiness of the burners thus improving cooking accuracy. The kit is made up of robust venturi parts and burners that have been designed to be used for long and under high temperatures. It is perfect for the commercial kitchen since it provides an even heat for the best cooking. Its construction is also strong thus it will not require frequent replacement, hence cutting on the costs of maintenance.

Dimensions

  • Length: 9.471 In
  • Width: 2.409 In
  • Height: 1.51 In
  • Weight: 28.385 lbs
https://partsfe.com/media/catalog/product/v/u/vulcan-hart-763209-000a1-new-chall-assembly-venturi-kit-and-front-and-rear-burner-66201-2.jpg

Product Notes

  • Chall Assy Series Venture ( New ), Front And Rear Burner
  • Fits Vulcan Hart Models~
  • Ahp-636, Vcrh24, Vhp636
Write Your Own Review
You're reviewing:Vulcan Hart 763209-000A1 New Chall Assembly Venturi Kit and Front and Rear Burner
Your Rating
Customer Questions
What maintenance is required for the Vulcan Hart 763209-000A1 Venturi Kit?

Clean venturi openings to remove debris and buildup. Inspect for blockages or corrosion. Ensure proper alignment and installation. Maintenance ensures proper gas-air mixing, efficient combustion, and consistent burner performance.

What are common issues with the Vulcan Hart 763209-000A1 Venturi Kit?

  • Blockages restricting proper air and gas flow mixture.
  • Corrosion affecting efficiency and structural integrity.
  • Improper alignment causing uneven burner flame distribution.
  • Reduced combustion efficiency leading to poor heating output.
  • Debris buildup interfering with normal burner operation.

We strive to provide our customers with a hassle-free and efficient shopping experience. Our shipping policy ensures the timely delivery of your orders and complete customer satisfaction. View More

We are committed to ensuring your complete satisfaction with every purchase. We understand that circumstances may arise where you must return a product or request a refund. If for any reason you are not satisfied, you may return the item(s) according to the terms outlined below. View More

This Payment Policy outlines the terms and conditions governing all payments made for products purchased through our website. By making a purchase, you agree to be bound by this Payment Policy. View More

Installation Steps

Step1: Turn off the appliance and unplug it.

Step2: Remove the old venturi assembly carefully.

Step3: Clean the area and inspect for wear or blockages.

Step4: Insert the new venturi kit into its designated slot.

Step5: Secure screws and brackets firmly.

Step6: Reconnect any lines or wiring carefully.

Step7: Test airflow and performance to ensure proper operation.
