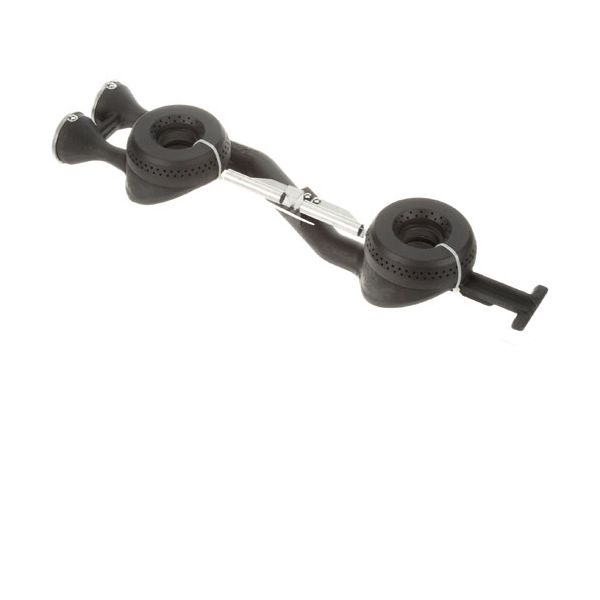
Vulcan Hart 00-763209-000A1 New Chall Assy Venturi Kit and Front and Rear Burner
Special Price $131.94 Regular Price $203.29
In stock
SKU
00-763209-000A1
Manufacturer:

The Vulcan Hart 00-763209-000A1 Venturi Kit consists of a new challenge assembly, front burner, and rear burner with compatibility in mind with Vulcan cooking equipment. This high-quality kit enhances the flow of gasses and the efficiency of the burners hence making cooking uniform and energy efficient. It is made to be strong enough to handle high-temperature operations and is therefore suitable for use in restaurants. This particular Venturi kit is built to be highly durable and more efficient and therefore plays a huge role in improving the efficiency of a kitchen and the longevity of Vulcan equipment and should therefore be used for maintenance of Vulcan equipment.
Dimensions
- Length: 9.471 In
- Width: 2.409 In
- Height: 1.51 In
- Weight: 28.385 lbs
Product Notes
- Chall Assy Series Venture ( New ), Front And Rear Burner
- Fits Vulcan Hart Models~
- Ahp-636, Vcrh24, Vhp636