Parker Hannifin 76728 Coaxial Thermocouple W/ 11/32"-32 Threads 48"
Special Price $102.06 Regular Price $157.25
In stock
SKU
76728
Manufacturer:

The Parker Hannifin 76728 Coaxial Thermocouple is used in industrial applications for measuring temperatures especially for steam or hot water. It has a width of 48 inches and uses 11/32”-32 thread size and is designed to work with different systems. It is a spare component for GP307 and GP407 models which are applied to steam solenoid valves and other similar devices. This thermocouple is accurate, enhancing the system reliability and efficiency. This makes it suitable for use in conditions such as in dishwashers, to ensure that the temperature sensitive equipment operates as required.
Dimensions
- Length: 4.25 In
- Width: 2.5 In
- Height: 1.75 In
- Weight: 0.3 lbs
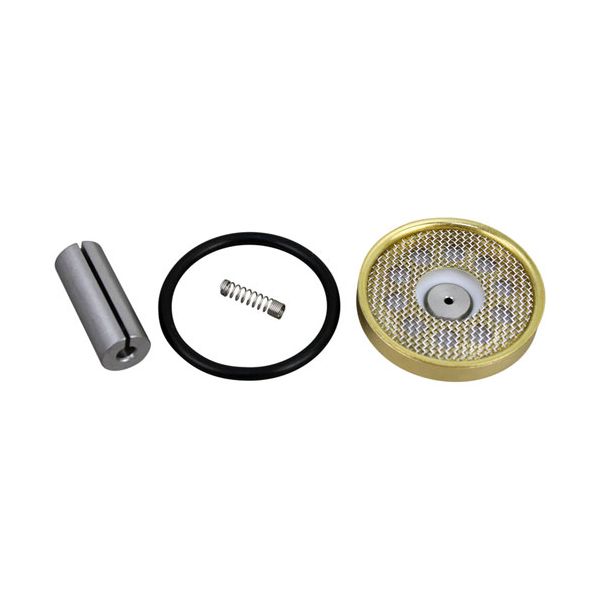
Product Notes
- Parker Gp Repair Kit, ( Gp307, Gp407 ) 3/8", 1/2",
- Consists Of Plunger/Spring Assembly, "O" Ring,
- Diaphragm Cartridge, Mesh Strainer.
- Teflon Diaphragm
- Steam Solenoid Repair Kit For Parker Gp307 & Gp407 Valves.
- Valve Gp407 # 58-1015, Steam Solenod Valve, 1/2" Fpt, 120V
- Valve Gp407 # 58-1025, Hot Water/Steam, 1/2", 240V
- Valve Gp307 # 58-1036, Hot Water/Steam, 3/8", 120/240V
- Valve Gp407 # 58-1094, Hot Water/Steam, 1/2", 24V
- Cleveland
- Vulcan Dishwasher