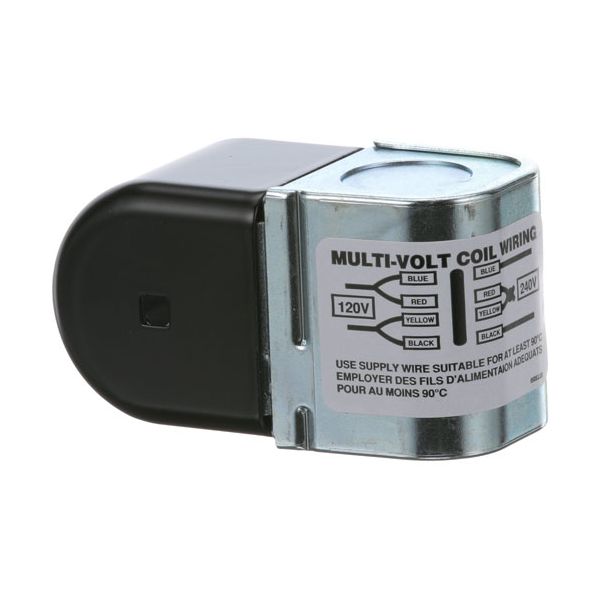
Parker Hannifin 77360 Solenoid Coil 120/240V

Special Price $98.68 Regular Price $152.06
In stock
SKU
77360
The Parker Hannifin 77360 Solenoid Coil 120/240V activates an electromagnetic coil to induce a magnetic field which pulls the valve plunger open the inner passage when power is connected and closes when power is disconnected. The coil operates the valve when the system is controlled by voltage. It is installed around the valve stem of the fluid or gas line of compatible equipment, usually fitted in the solenoid valve assembly. This coil is to be replaced when the part does not open the valve in the normal operating position.

Dimensions

  • Length: 4.5 In
  • Width: 2.75 In
  • Height: 2 In
  • Weight: 0.5 lbs
https://partsfe.com/media/catalog/product/p/a/parker-hannifin-77360-coil-for-solenoid-valve-120-240v-28594-2.jpg

Product Notes

  • Parker Coil, 120/240V
  • Used On:
  • # 58-1025, Solenoid Valve
  • # 58-1026, Solenoid Valve
  • # 58-1035, Solenoid Valve
  • # 58-1036 Solenoid Valve
  • # 58-1018 Solenoid Valve
  • # 58-1125 Steam Solenoid
  • # 58-1123 Steam Solenoid
  • # 58-1124 Steam Solenoid
PARKER HANNIFIN:
Write Your Own Review
You're reviewing:Parker Hannifin 77360 Solenoid Coil 120/240V
Your Rating
Customer Questions
What maintenance is required for the Parker Hannifin 77360 Solenoid Coil?

Regularly inspect the coil for signs of overheating, damage, or loose wiring connections. Keep the area clean and dry to prevent electrical issues. Proper maintenance ensures consistent valve operation, reduces risk of coil failure, and supports better electrical performance.

What are common issues with the Parker Hannifin 77360 Solenoid Coil?

  • Coil overheating during operation.
  • Failure to energize the solenoid valve.
  • Intermittent electrical connection.
  • Burnt or damaged coil windings.
  • Voltage mismatch causing improper operates.

We strive to provide our customers with a hassle-free and efficient shopping experience. Our shipping policy ensures the timely delivery of your orders and complete customer satisfaction. View More

We are committed to ensuring your complete satisfaction with every purchase. We understand that circumstances may arise where you must return a product or request a refund. If for any reason you are not satisfied, you may return the item(s) according to the terms outlined below. View More

This Payment Policy outlines the terms and conditions governing all payments made for products purchased through our website. By making a purchase, you agree to be bound by this Payment Policy. View More

Installation Steps

Step1: Disconnect electrical power completely and confirm the system is de-energized before handling.

Step2: Remove existing coil from the solenoid valve by loosening retaining hardware.

Step3: Slide the new coil onto the valve core ensuring correct seating alignment.

Step4: Reattach mounting clip or nut and tighten securely without over-compressing the coil body.

Step5: Reconnect wiring terminals as per schematic and insulate properly.

Step6: Restore power and test valve actuation to confirm proper energizing and operation.