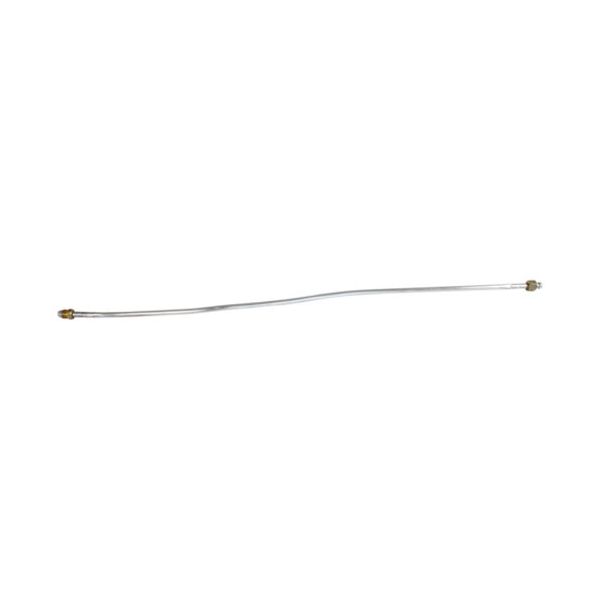
Frymaster 810-0705 Fryer Gas Line 0.25" X 23"

$28.80
In stock
SKU
810-0705
The Frymaster 810-0705 Fryer Gas Line is a replacement part that is used to supply gas through the point of connection of the appliance to the burner system. It is 0.25" by 23" and is applied in commercial kitchens where a supply of fuel is required to run the fryers efficiently. This gas line assists in ensuring that the fryer assembly has an appropriate heating level by keeping the gas pathway secure and stable. It is usually fitted when the system is being serviced or repaired to ensure that the system is returned to safe operation in foodservice conditions.

Dimensions

  • Length: 24 In
  • Width: 3 In
  • Height: 2 In
  • Weight: 0 lbs
https://partsfe.com/media/catalog/product/f/r/frymaster-810-0705-gas-line-25-x-23-91180-2.jpg

Product Notes

  • Gas Line, 1/4" X 23"
  • Frymaster Bid80, Cfd50, Cfd60, Cfd80, D20, D50, D50G,
  • D50Gdd, D60, D60Gs, D80, Fm345E, Fm45, Fmcfe, Fmcfec,
  • Fpd565, Fpd65, Fpd665, Fphd65, Gf40, Hd60, J3F, J65X, Jcfx,
  • Kj3Fc, Kscf18G, Mj35, Mj45, Mjcf, Mjcfe, Mjcfec, Pmj35,
  • Scfd250G-Rti, Scfd50, Scfd60, Scfd80
Write Your Own Review
You're reviewing:Frymaster 810-0705 Fryer Gas Line 0.25" X 23"
Your Rating
Customer Questions
What maintenance is required for the Frymaster 810-0705 Gas Line?

Inspect the gas line regularly for cracks, leaks, or wear. Ensure all fittings remain tightly secured and free from grease buildup. Perform leak checks during servicing and replace immediately if any damage or gas odor is detected to ensure proper flow and safety.

What are common issues with the Frymaster 810-0705 Gas Line?

  • Gas leaks from worn or cracked tubing.
  • Loose fittings causing pressure loss.
  • Blockage or restricted gas flow.
  • Kinking or bending reducing performance.

We strive to provide our customers with a hassle-free and efficient shopping experience. Our shipping policy ensures the timely delivery of your orders and complete customer satisfaction. View More

We are committed to ensuring your complete satisfaction with every purchase. We understand that circumstances may arise where you must return a product or request a refund. If for any reason you are not satisfied, you may return the item(s) according to the terms outlined below. View More

This Payment Policy outlines the terms and conditions governing all payments made for products purchased through our website. By making a purchase, you agree to be bound by this Payment Policy. View More

Installation Steps

Step1: Turn off gas supply and power, allow unit to cool completely.

Step2: Disconnect old gas line using proper wrench.

Step3: Inspect fittings and apply approved thread sealant.

Step4: Attach new gas line securely to inlet and outlet.

Step5: Tighten connections and check alignment.

Step6: Turn gas on and test for leaks with soapy water.

Step7: Restore operation if no leaks detected.

Step8: Wear protective gloves and ensure proper ventilation.