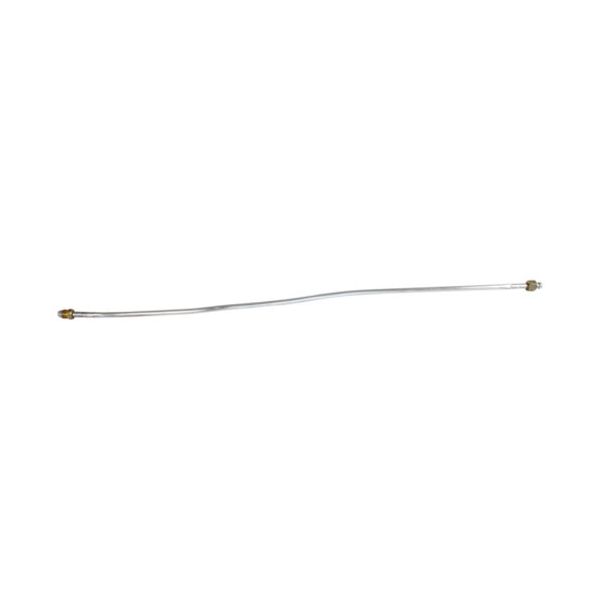
Frymaster 8100705 Fryer Pilot Gas Line 0.25" X 23"

$28.80
In stock
SKU
8100705
The Frymaster 8100705 Fryer Pilot Gas Line 0.25" X 23" transmits gas in the supply line to the pilot burner via a rigid tube that has a connection of 1/4 inch and a length of 23 inches. This tube carries gas to the pilot assembly to ignite the pilot flame which combines with the control system. It is mounted in between the gas supply source and the pilot burner on compatible commercial fryers at the locations of connection, this pilot gas tube is designed and dimensioned to fit the routing and gas system needs of the equipment.

Dimensions

  • Length: 24 In
  • Width: 3 In
  • Height: 2 In
  • Weight: 0 lbs
https://partsfe.com/media/catalog/product/f/r/frymaster-8100705-gas-line-25-x-23-20016-2.jpg

Product Notes

  • Gas Line, 1/4" X 23"
  • Frymaster Bid80, Cfd50, Cfd60, Cfd80, D20, D50, D50G,
  • D50Gdd, D60, D60Gs, D80, Fm345E, Fm45, Fmcfe, Fmcfec,
  • Fpd565, Fpd65, Fpd665, Fphd65, Gf40, Hd60, J3F, J65X, Jcfx,
  • Kj3Fc, Kscf18G, Mj35, Mj45, Mjcf, Mjcfe, Mjcfec, Pmj35,
  • Scfd250G-Rti, Scfd50, Scfd60, Scfd80
Write Your Own Review
You're reviewing:Frymaster 8100705 Fryer Pilot Gas Line 0.25" X 23"
Your Rating
Customer Questions
What maintenance is required for the Frymaster 8100705 Gas Line?

Inspect the gas line regularly for leaks, cracks, or wear. Ensure all fittings are tight and free from corrosion. Replace damaged sections promptly and follow safety shutdown procedures during servicing to prevent gas hazards.

What are common issues with the Frymaster 8100705 Gas Line?

  • Gas leaks at fittings due to loose connections.
  • Cracking or hardening of line from heat exposure.
  • Blockages restricting gas flow.
  • Corrosion of connectors or metal ends.
  • Pressure inconsistency causing burner performance issues.

We strive to provide our customers with a hassle-free and efficient shopping experience. Our shipping policy ensures the timely delivery of your orders and complete customer satisfaction. View More

We are committed to ensuring your complete satisfaction with every purchase. We understand that circumstances may arise where you must return a product or request a refund. If for any reason you are not satisfied, you may return the item(s) according to the terms outlined below. View More

This Payment Policy outlines the terms and conditions governing all payments made for products purchased through our website. By making a purchase, you agree to be bound by this Payment Policy. View More

Installation Steps

Step1: Shut off gas supply and ensure system is fully depressurized before starting, and wear protective gloves

Step2: Remove old gas line carefully using appropriate wrench properly

Step3: Align Gas Line and connect fittings securely

Step4: Tighten all connections with a wrench to prevent leaks

Step5: Apply leak detection solution and inspect for bubbles

Step6: Restore gas supply and test flame operation safely carefully